How to Create a Fancy Cheeseboard for less than $25

I think it was the year I found out I was lactose intolerant… when I discovered my obsession with making (and eating) fancy cheeseboards. It makes sense. I probably ate so much cheese that my body was like, no more, please stop.
But, it hasn’t stopped me. I’m just a little more responsible about my cheese intake these days. Plus half the fun is actually building the board. So I can get my fill there, take some pretty photos for instagram, and feed my friends.
And since I’ve really started to focus more on the aesthetics of building a cheeseboard, I’ve started to get a ton of questions. Like… how, where, what, can you just make one for me? If there was a future for me in cheese plates, I’d probably follow that path;) In the meantime, I wanted to share some tricks and how to build a nice cheese plate for the holidays, with less than $25 in your pocket.


Here is a list of what I ALWAYS buy, minimum:
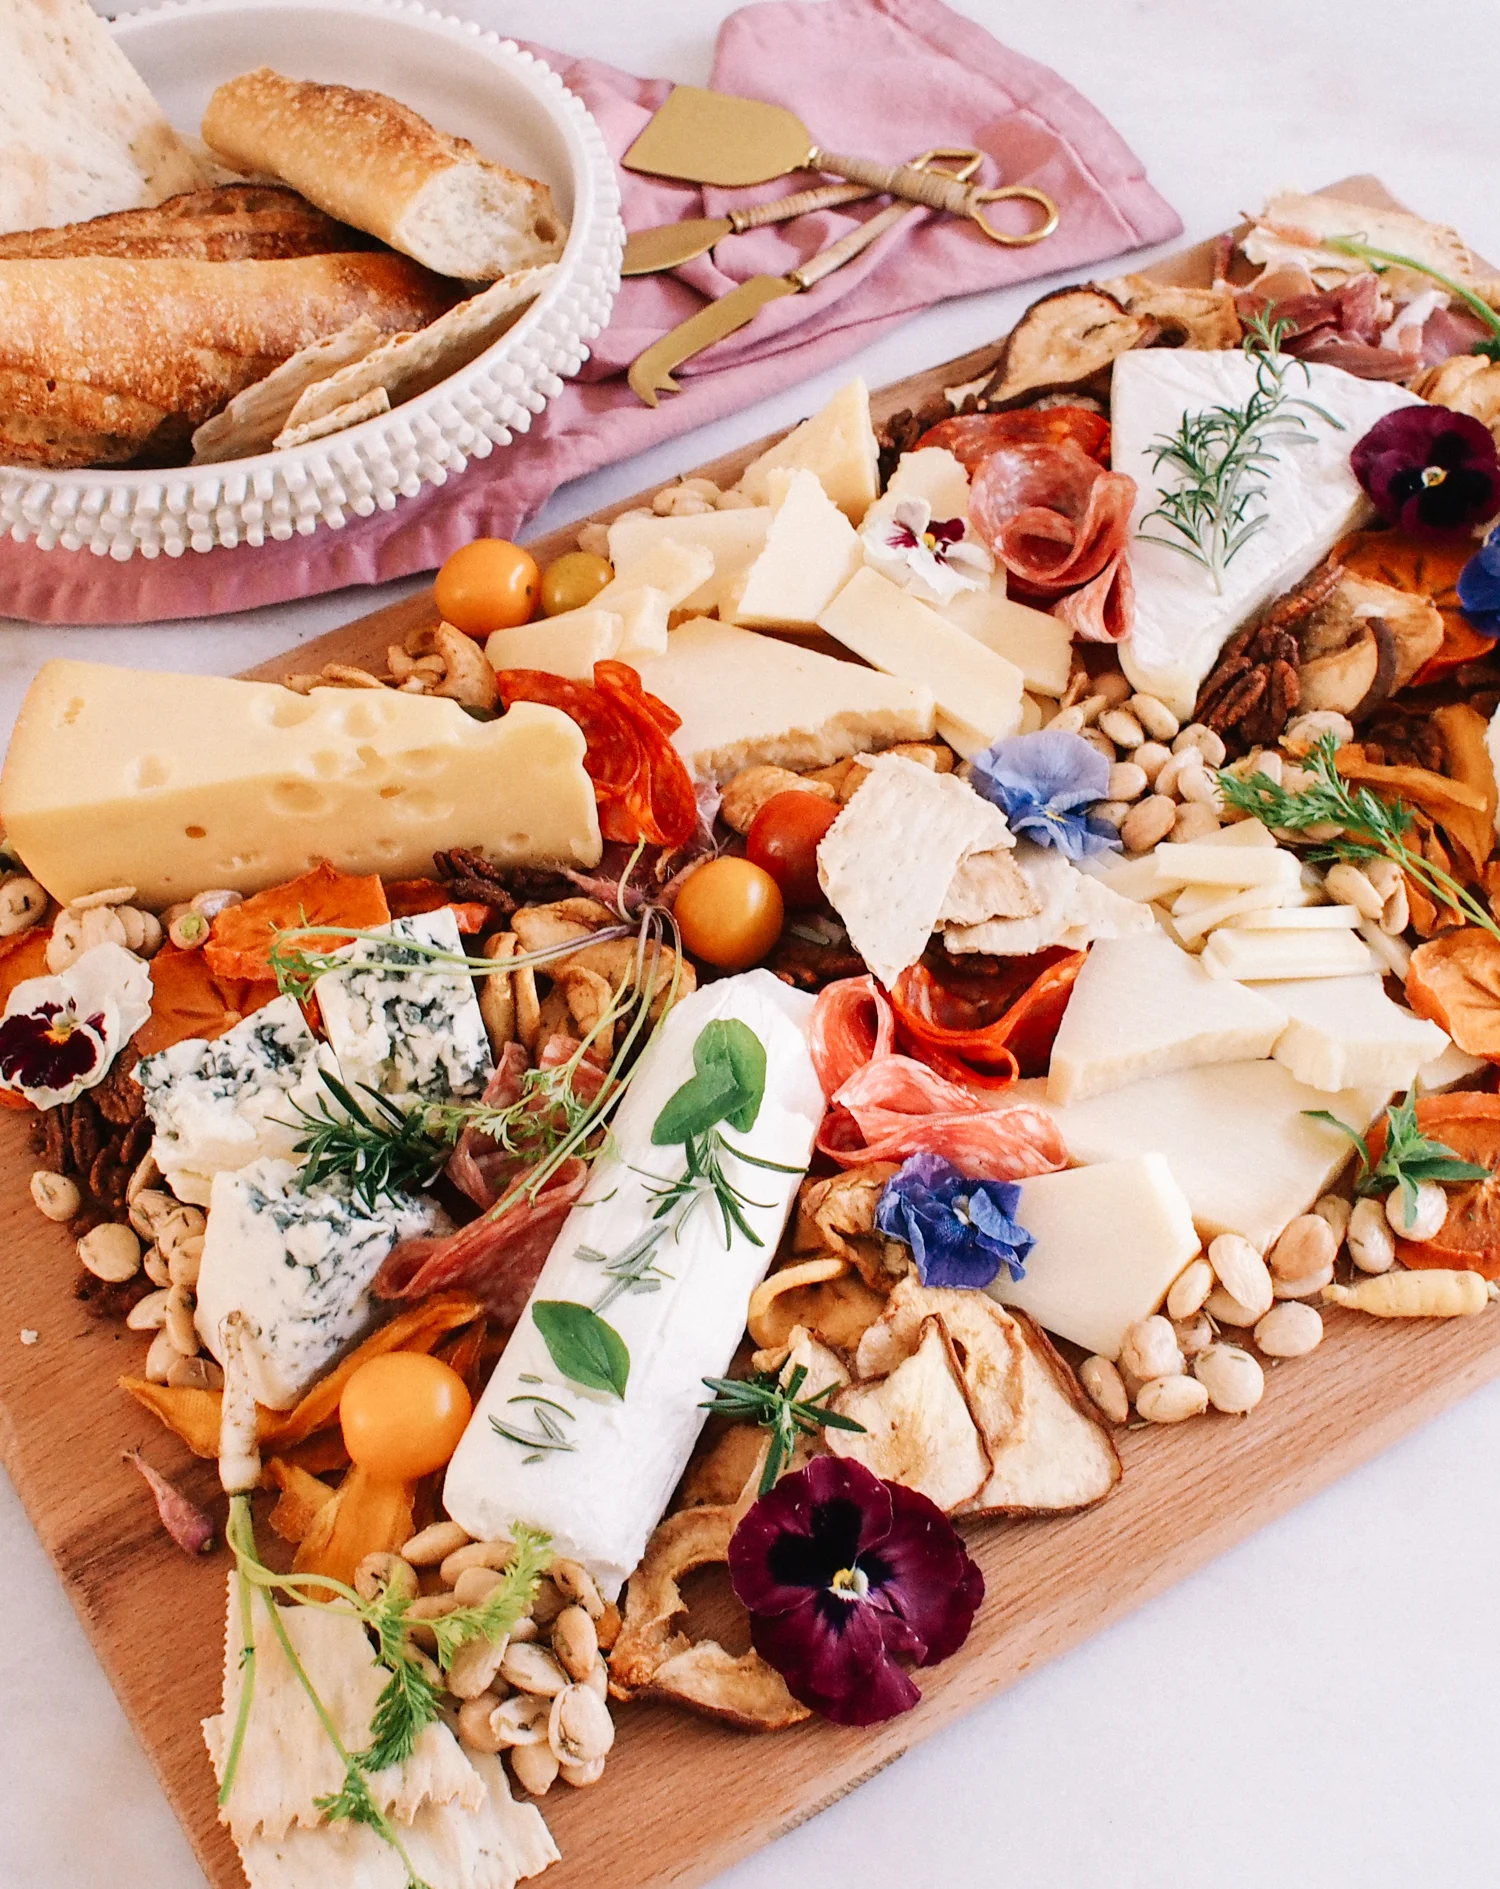
3 cheeses, usually a hard (cheddar is what I used here), soft (we love brie and chèvre), and an “interesting” option (like a bleu or truffle… I used Swiss here honestly because I thought it was pretty)
1 box of crackers or one baguette. Since the cheese was more on the hard side for this board, I went with crackers. Baguettes go great with soft and hard though if you’d rather do that.
Herbs. If you’re lucky you can find a mixed pack at your store. Or do what I did and grow your own! This was the first time I used mine from our new garden and it was pretty exciting.
Nuts. We are obsessed with the rosemary marcona almonds and almost always have those on our boards.
Dried or fresh fruit to add a sweet touch.

Tips for styling your cheeseboard:
Use one that doesn’t leave a lot of white space around your cheese and accoutrements. This is mainly just more pleasing to the eye as it looks full and not like you couldn’t fill your board up. Always err on the side of too small since you can add more cheese as people eat.
Make everything touch, don’t worry about all of the cheeses being able to breathe. I start by putting my cheese down and then tucking everything else in to fill in the gaps.
Break your hard cheeses and stack them. They just look more interesting than a block sitting on your board all sad.
Add herbs on top of your cheeses so they don’t look like you just squeezed them out of the package. I hate when you can see the lines from the plastic packaging so I always do this to hide those!
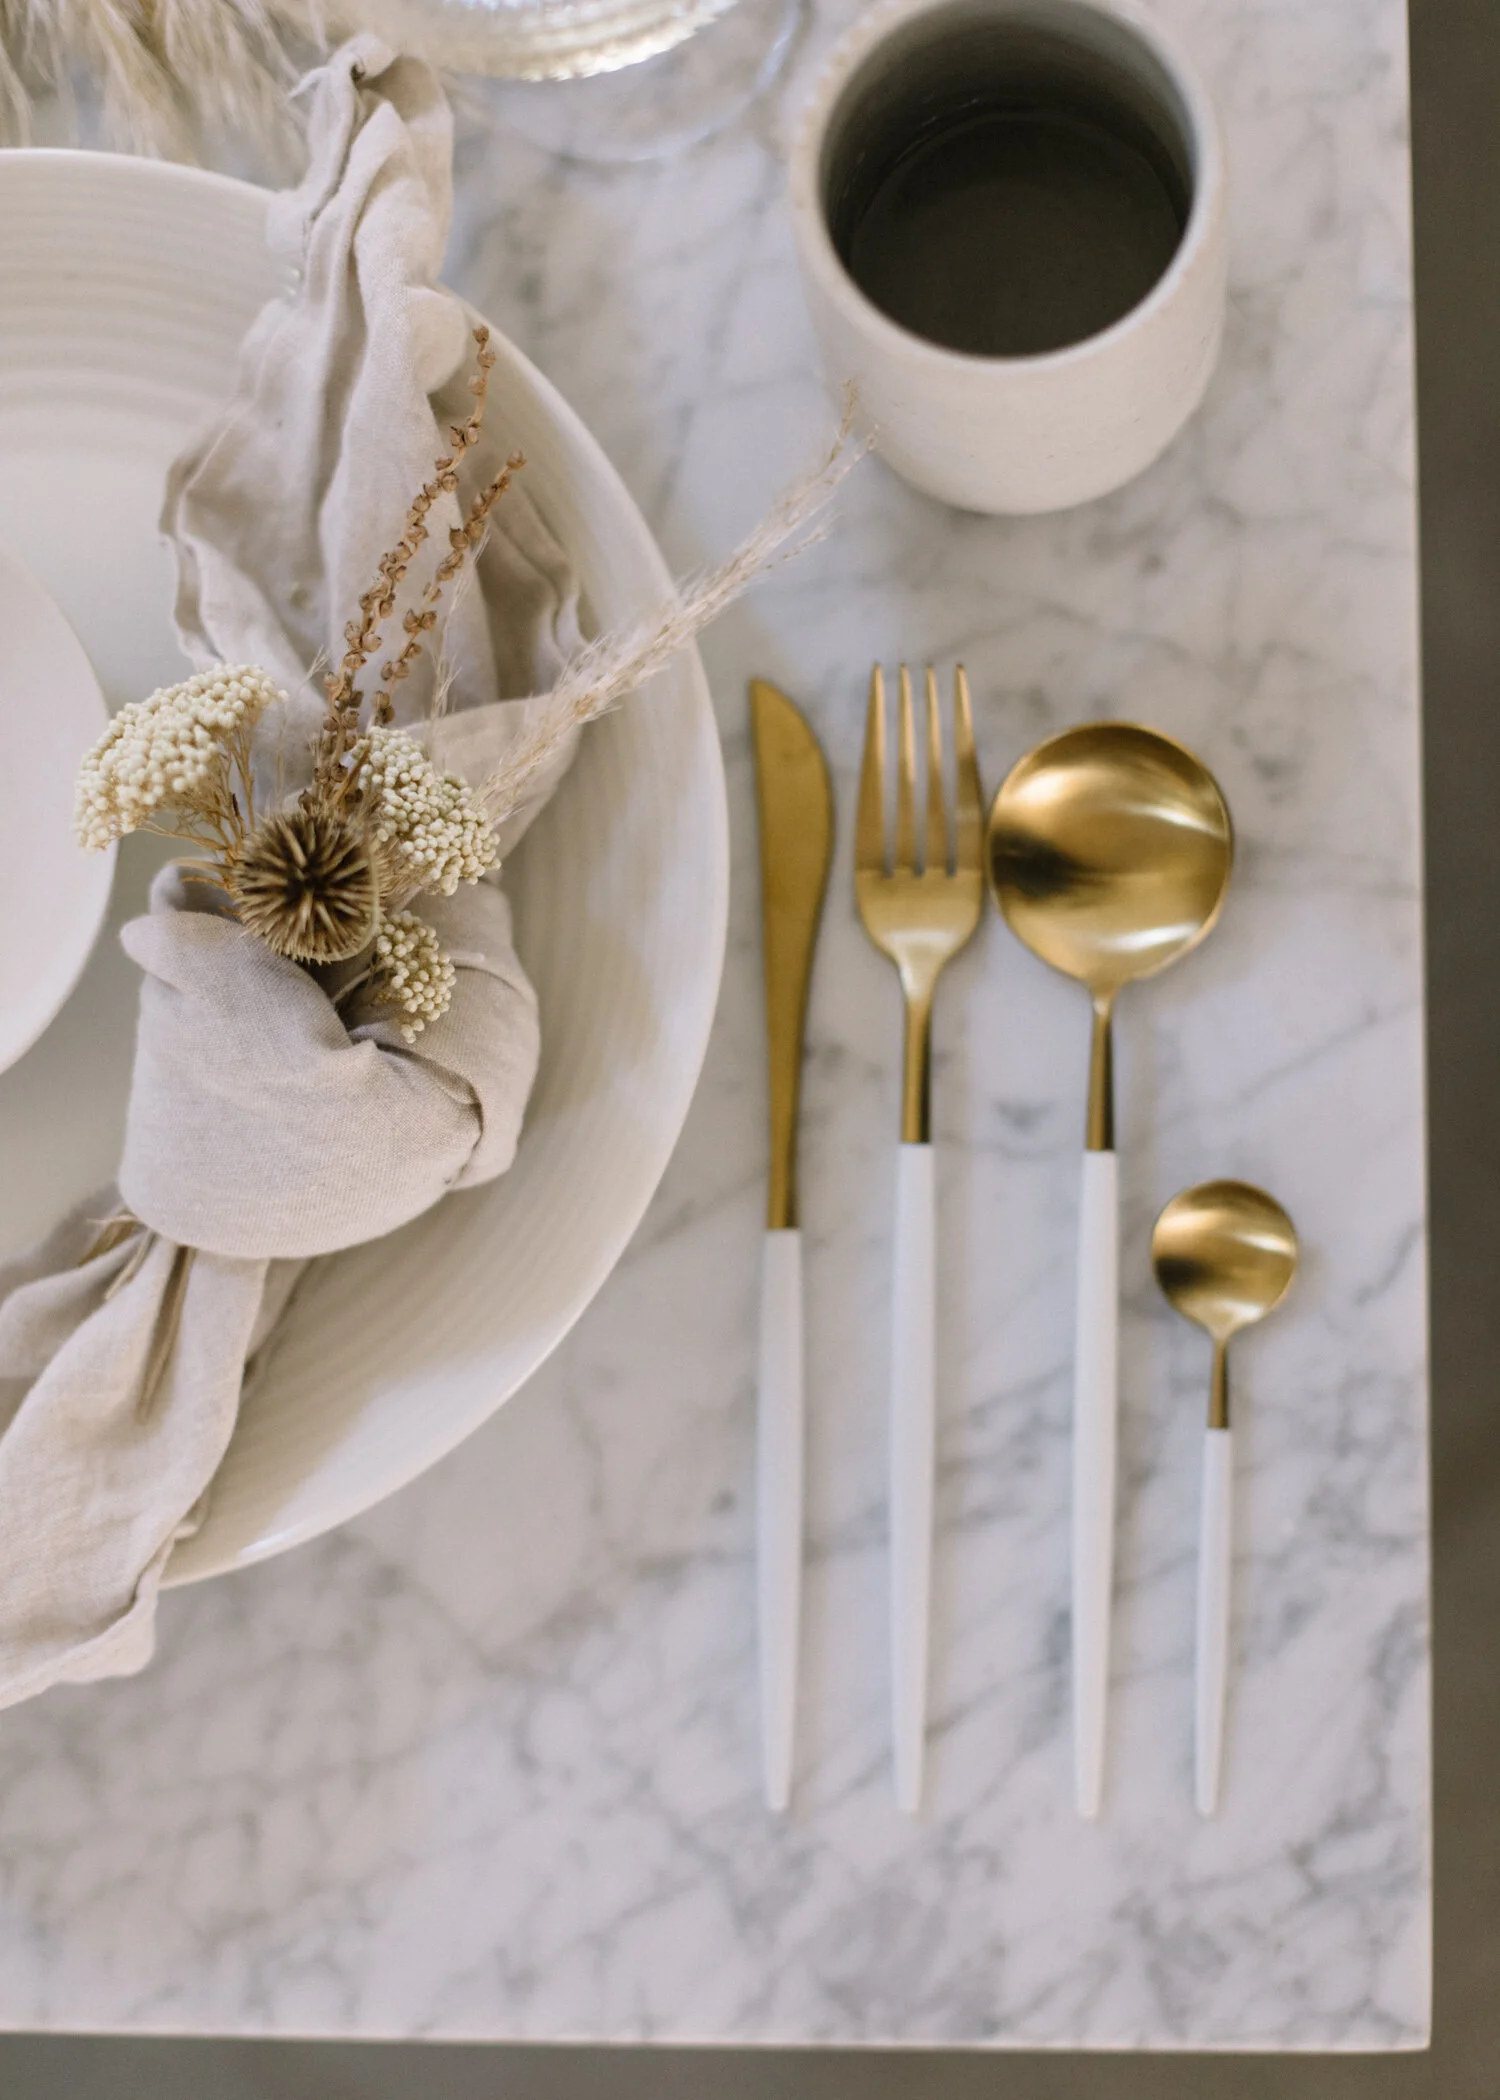
Don’t stick your knives in the cheese. This is my biggest pet peeve! Set them next the the cheese on the board. It will look much nicer.
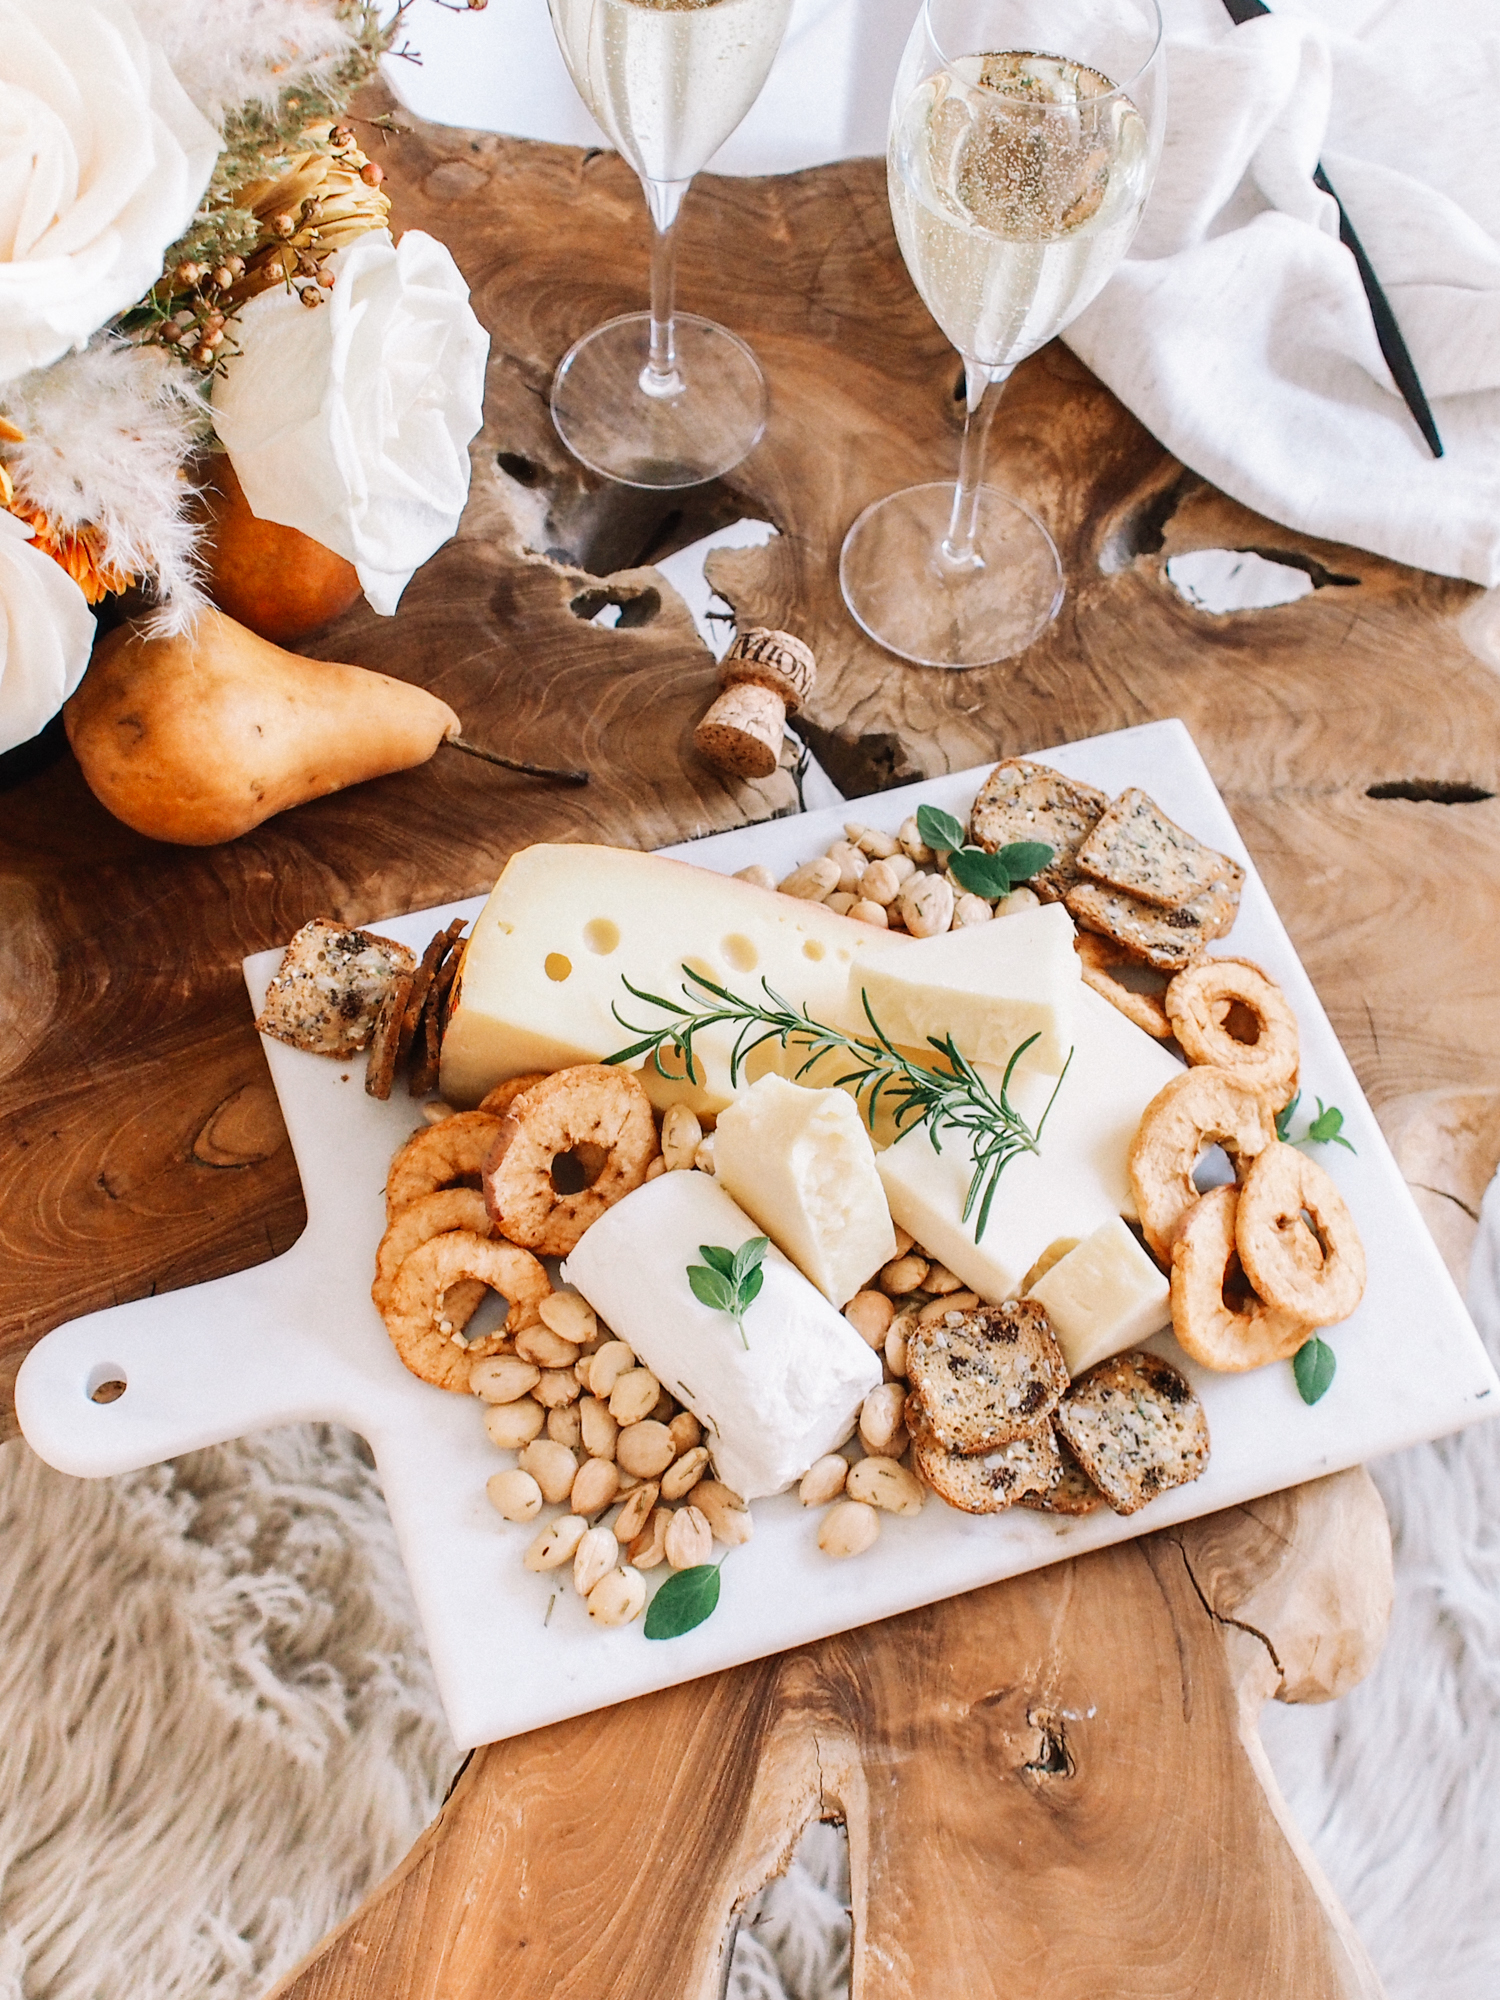


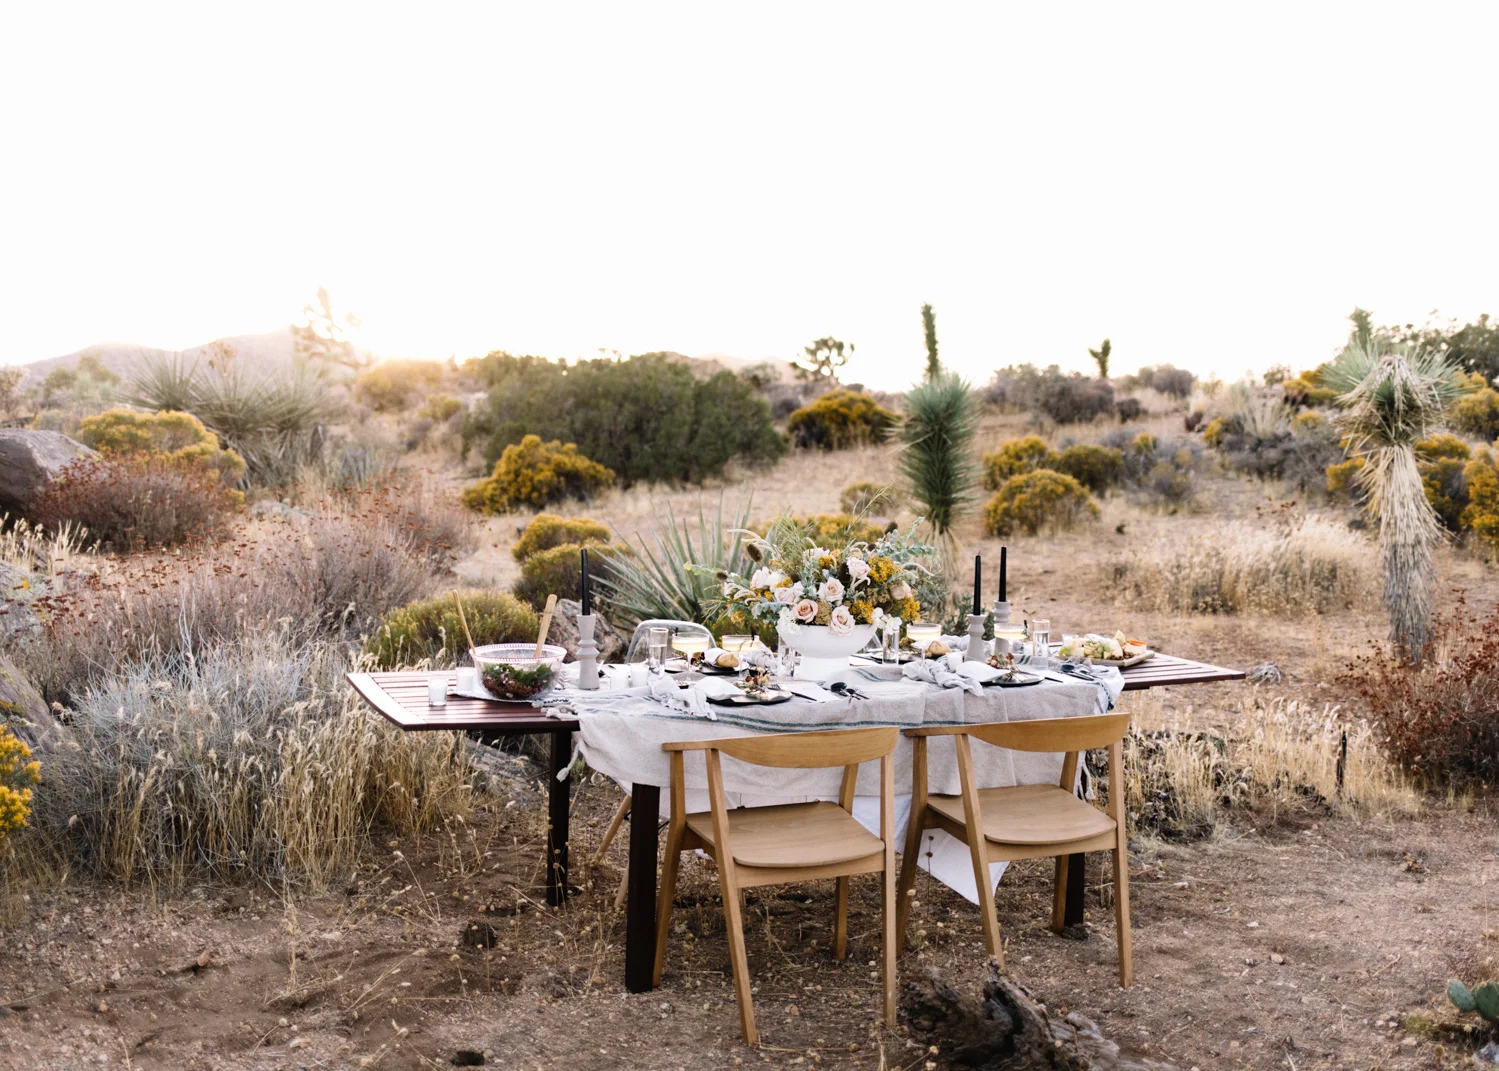
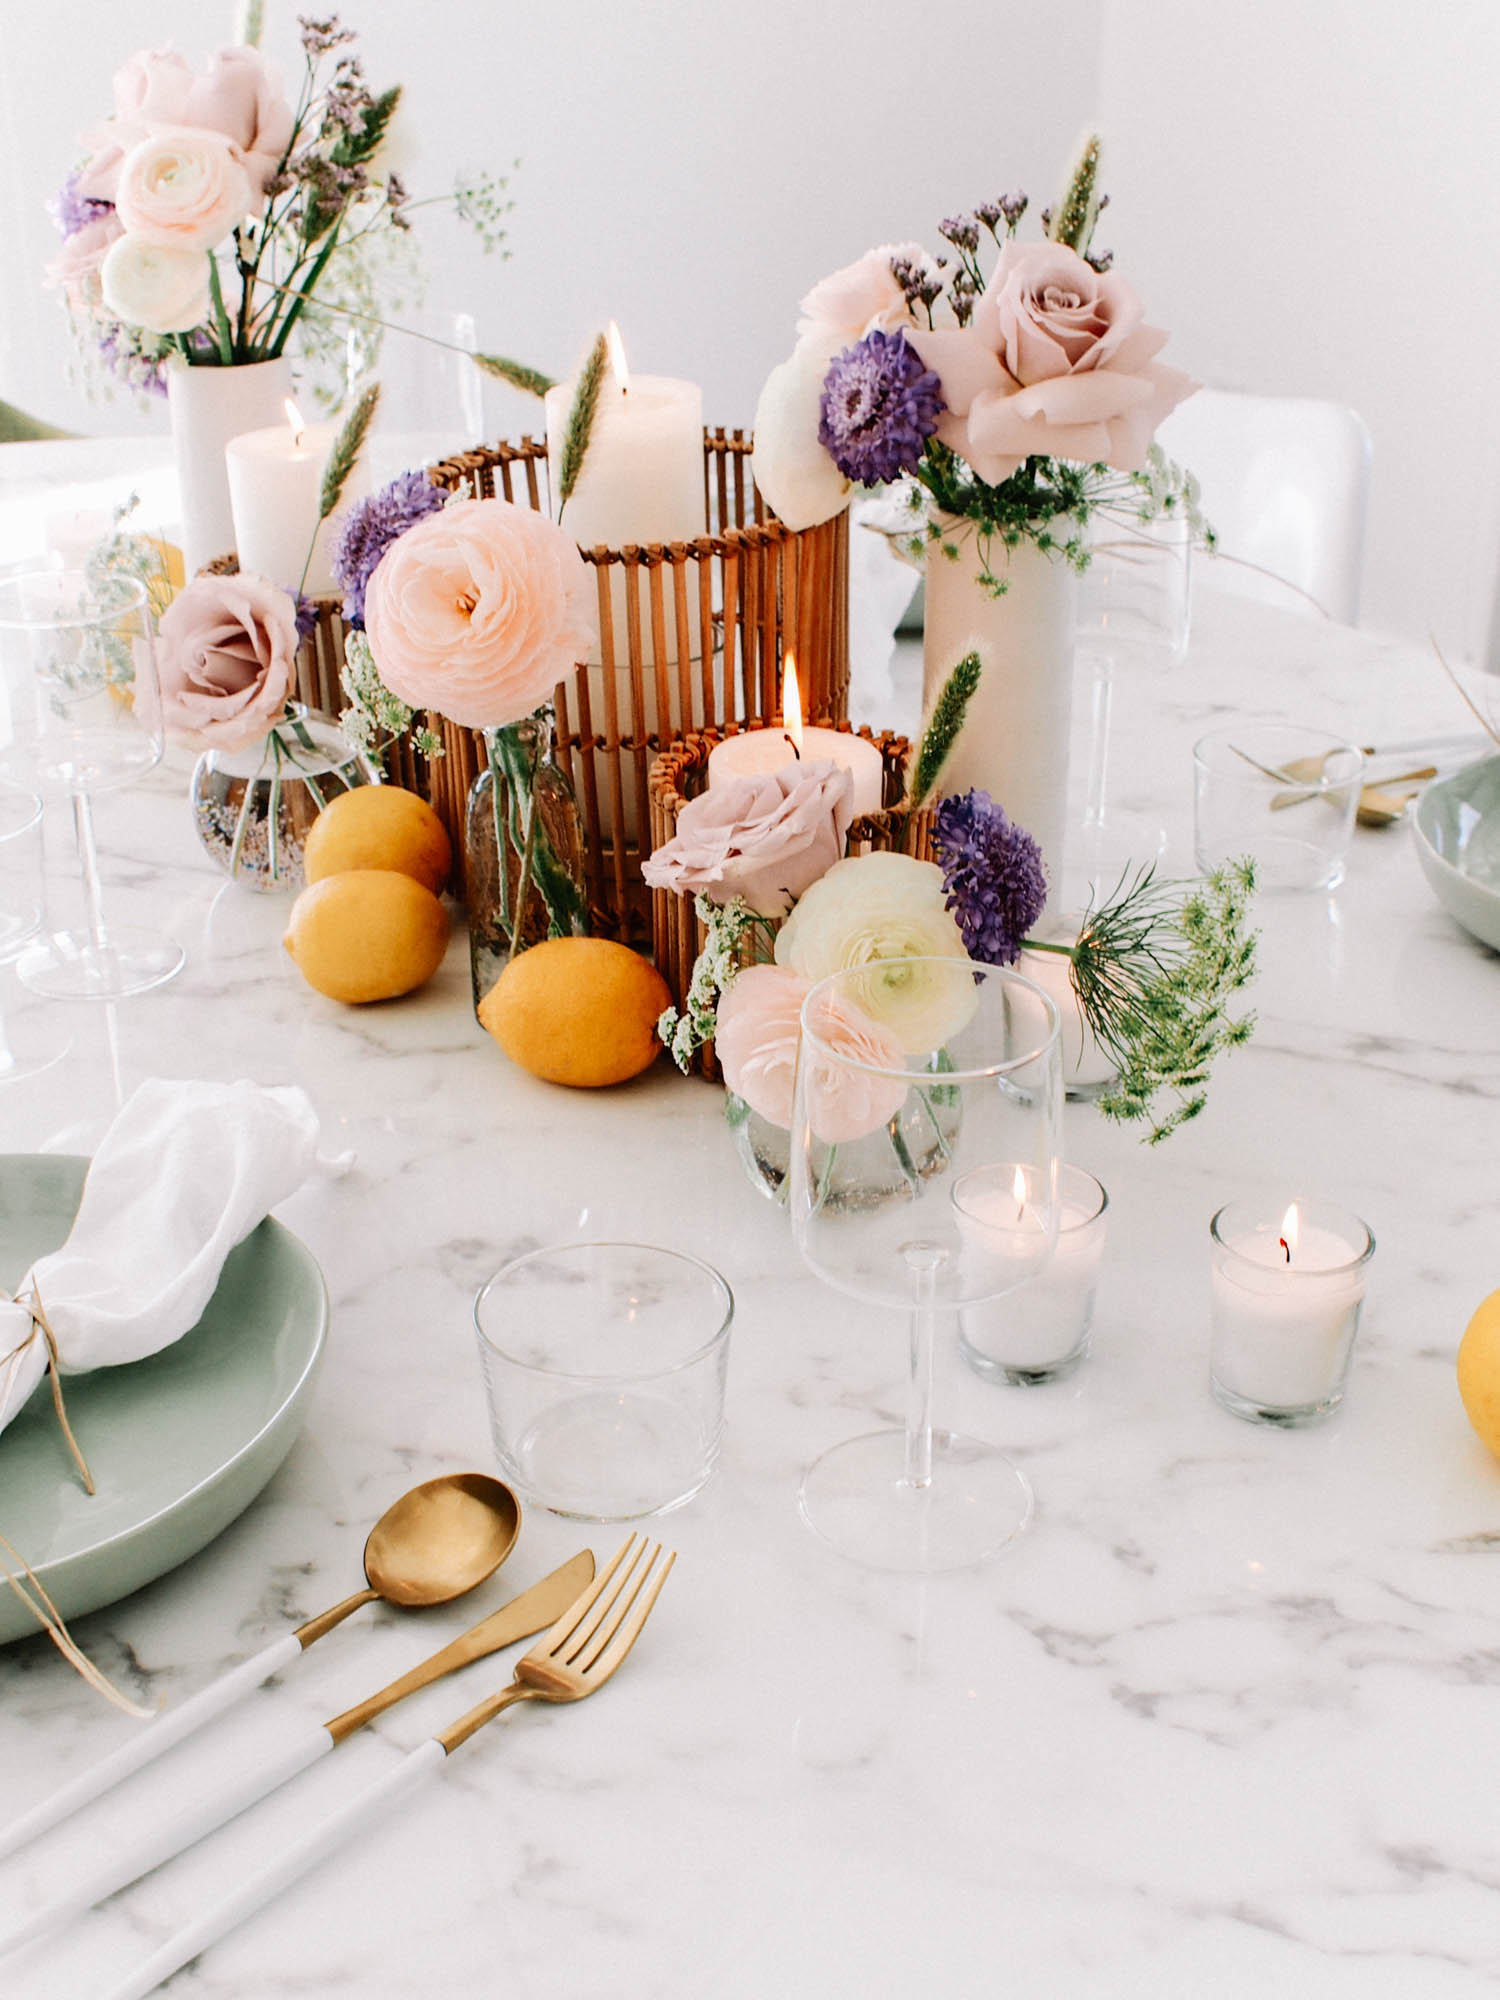
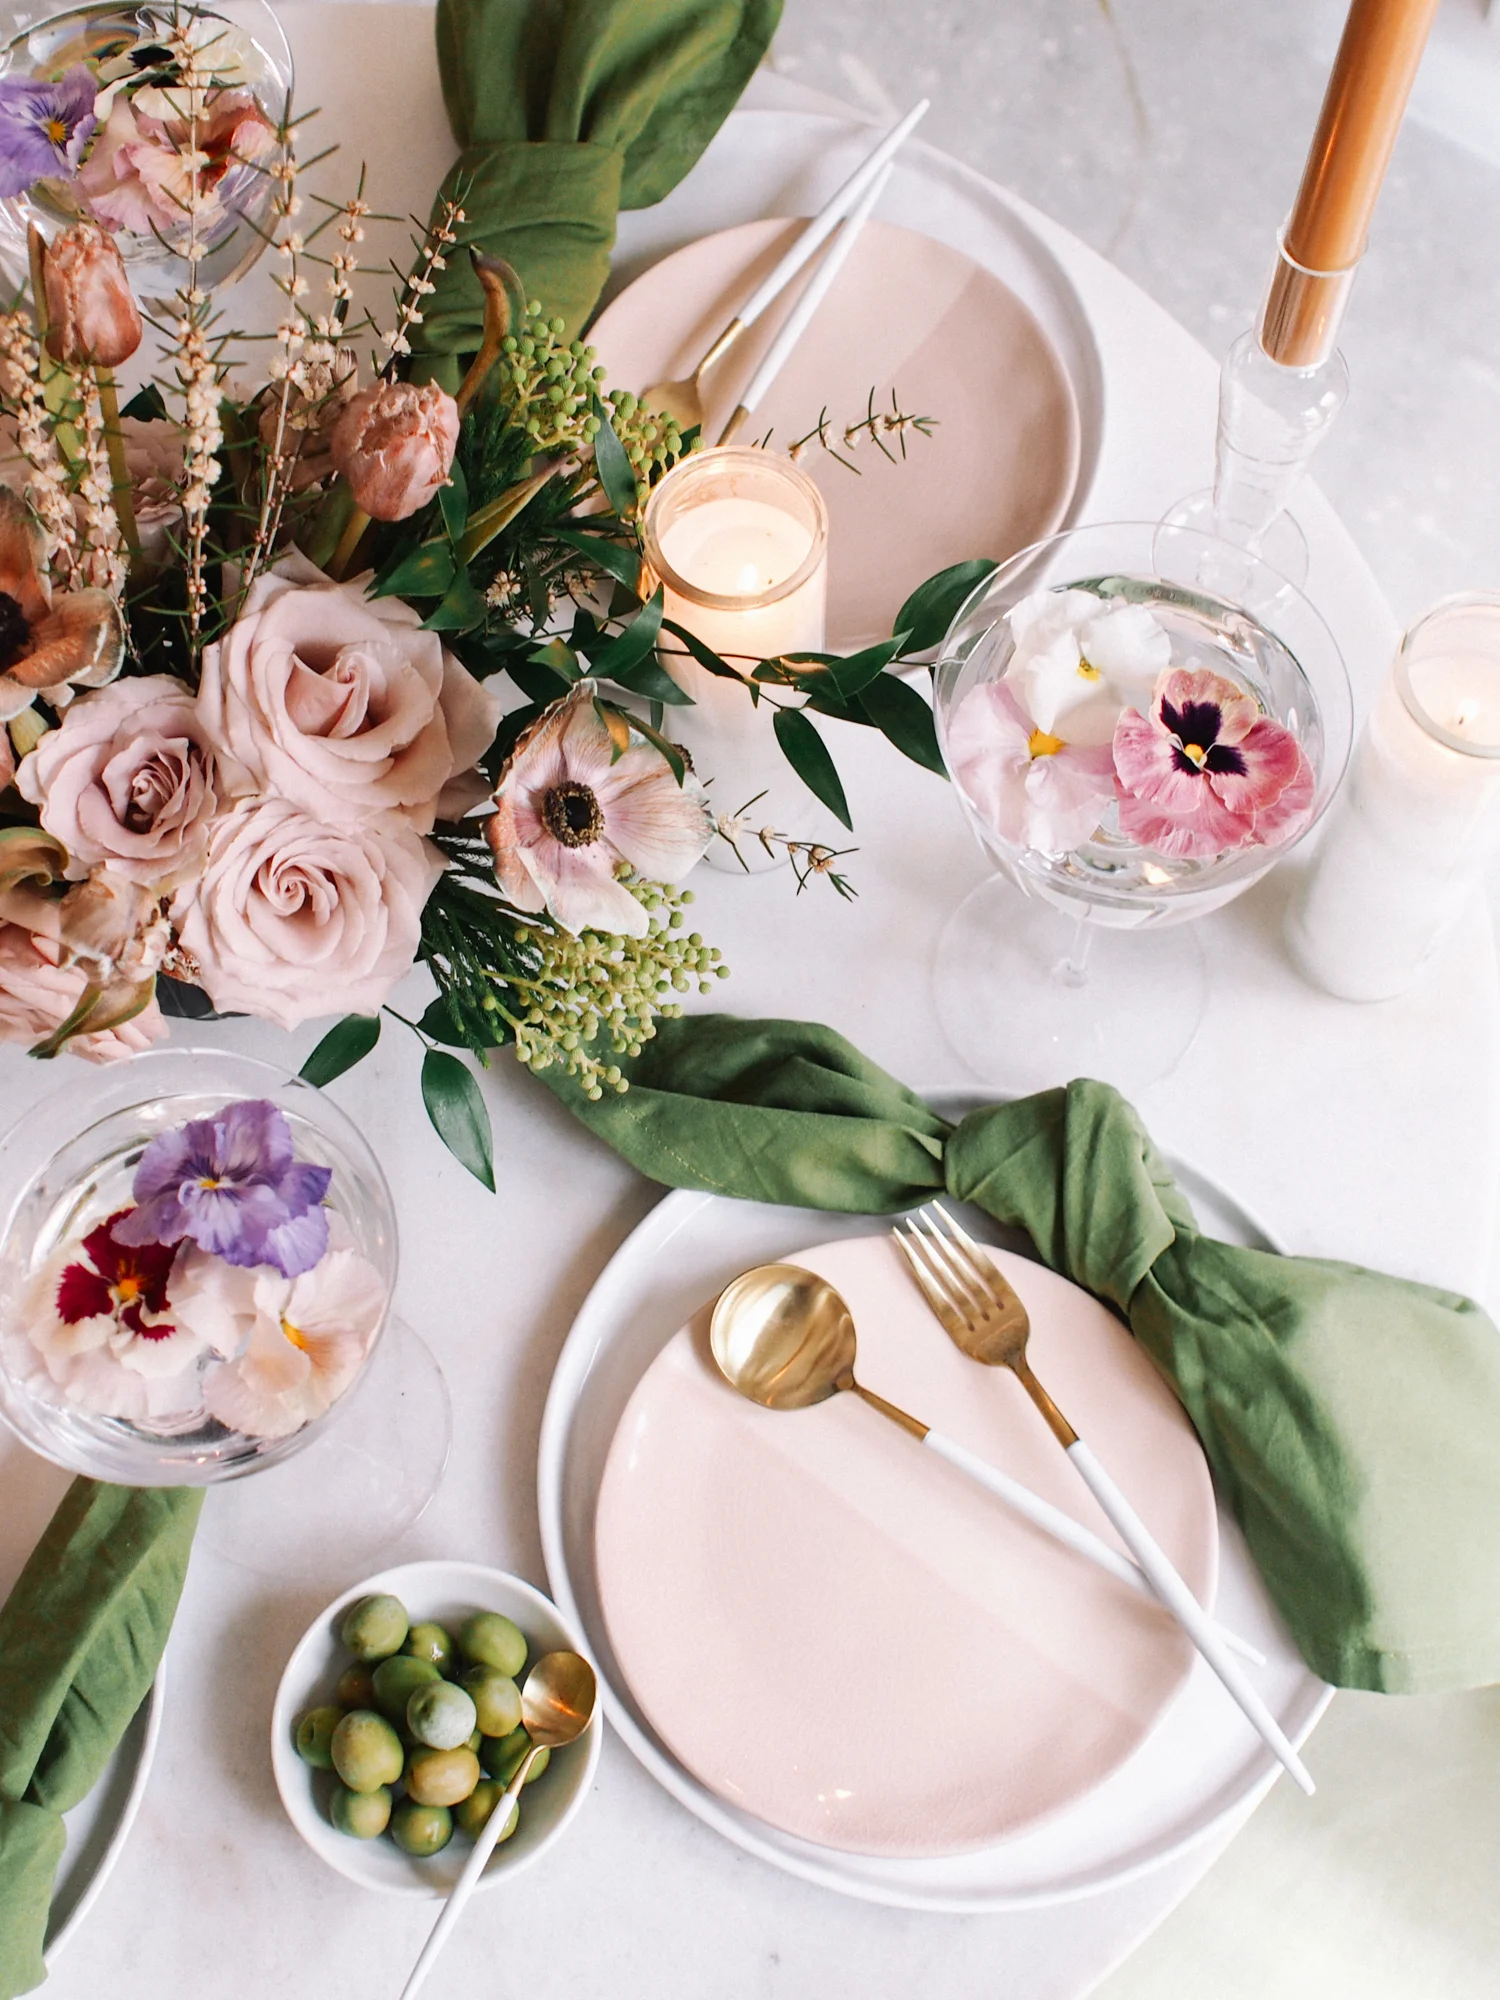
We purchased all of the ingredients for this board from Trader Joes and it was under $25. There was even more left over that didn’t fit on the board so you could easily go a bit bigger! I finished the table off with some seasonal flowers, a few pieces of fruit, and my favorite thing to pair with a cheeseboard, prosecco. Hope this helps you guys build some fun boards for the holidays!