How We Built My Backyard Studio From the Ground Up

If 2020 brought anything good, it was the final shove into starting the build of my little backyard studio. Prior to that, I had an office space just down the street from our house. At full capacity, we had 6 of us working in a well configured 750 square foot space. I liked it, it was exciting to finally be out of the house and be able to make keys for my employees to come and go as they pleased. But the novelty wore off when we had to use a single key to get into a SHARED bathroom (which was lost frequently), when we didn’t have running water (you don’t realize how much you need it until you don’t have it), when we were constantly fighting with our neighbors over the shared ac/heat unit, and when we were yelled at several times by our neighbor to stop hanging stuff with a hammer on the wall (which i did often as we were always rearranging).
So the pandemic hit and suddenly it was very clear we were going to be at home for a while. It made sense to me, to invest in a space in our home, rather than continue paying rent for something i would never own. What’s an office now could potentially be a cute little pool house down the road… or a workout room, or even a guest house. But for now, I feel like I have a spot to go to and actually be productive. A spot that isn’t SO close to the pantry (my downfall when “taking a break”). Honestly it’s probably exactly the same amount of steps i would take to get to the spare bedroom upstairs, but it feels different.
I’m still working on the finishing touches on the inside, but I wanted to take you through what we did to build it.
Where
We’ve never done any work on our backyard, we’re planning on tackling that later this year. So we had a blank canvas without a lot of restrictions. We chose the back corner that had less privacy and measured out from the property lines (to code). The structure is technically considered a shed (a really nice one if you ask me but…) so that is how we went about following any rules/code restrictions in our city.


Who
We’re lucky to have a neighbor who is a retired contractor. He’s always been so helpful and likes helping us with projects we have in our home. I mentioned the studio one day and he was in. He worked with his son in law building it from the ground up.
We also hired a team to demo the area of the yard prior to starting the build. They removed a large tree + concrete and then laid the sand and pavers that the studio would sit on top of. As this is a “shed” it’s not permanently fixed to the ground or on a concrete pad. The dirt was leveled and then a platform was built on top of the pavers.
An electrician was also brought in at the end to wire all of the outlets and lighting correctly.
I DIY-ed drywall texturing, painting, flooring + window coverings.


The process
One
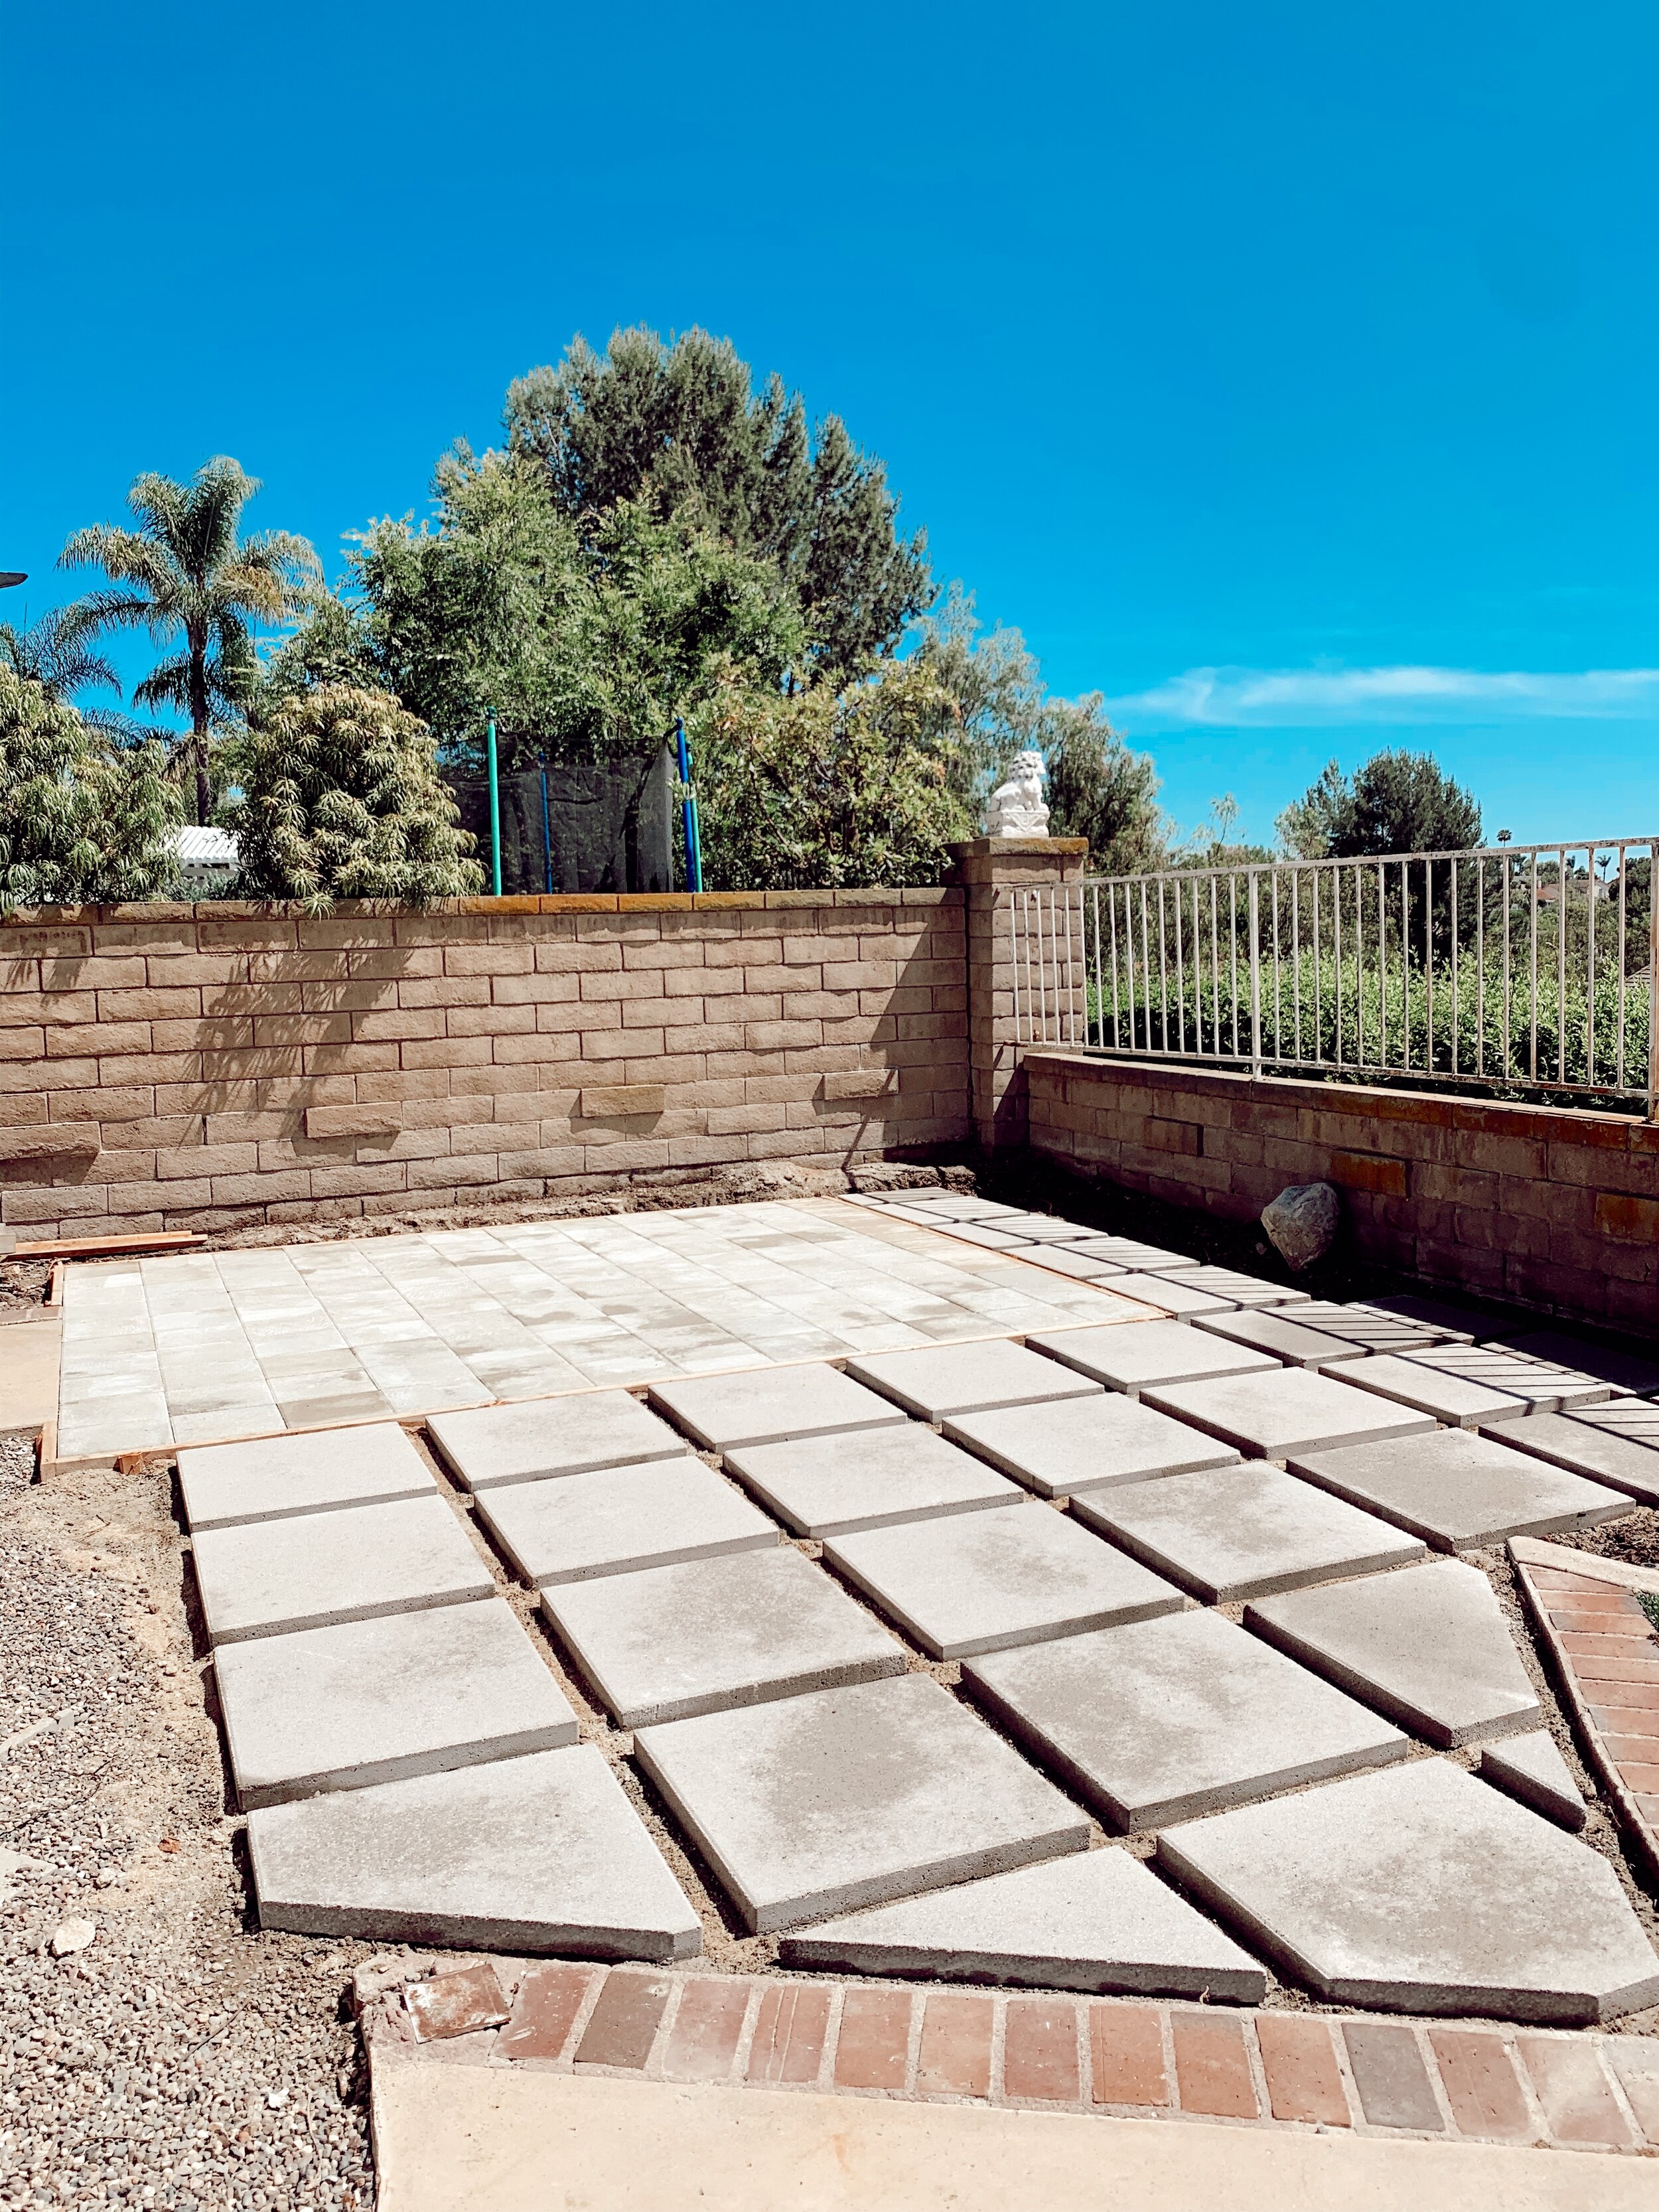
We started by clearing the area where the studio would be built. The team that did the demo also compacted and leveled the area before placing pavers to build on. The pad was built at 10’ x 12’ (largest shed size allowed) and set back from property lines the appropriate amount for city guidelines.
The pavers they used for the “patio” area were 24” pavers from Home Depot. They used a smaller, 12”, less expensive version underneath as the base.
Two
They started the build by creating a platform. This was to protect the structure from collecting any water underneath and that turning into mold, etc. you can see there is a bit of a step up from the entry to the door. I plan on creating a small step to cover the gap and make it easier to get in and out of.
Three
They framed the structure. This included a slanted roof (the roof could only be 7’ high on the side where it meets our neighbors wall, so this was a great compromise for more headspace inside). I purchased 2 windows and a french door prior to them starting the framing. So they knew exactly what was going in when they were working on this part.
I do wish I would have done larger windows. I was trying to save money, the ones I bought were under $120 each! But I should’ve spent another $100 and gone bigger. It’s not dark at all but it would’ve been nice to let even more light in.

Four
Once it was framed, they started to put the siding up, insulation, wired electrical and outlets, and finally drywall.
The original plan was to attach the drywall to the outside of the exposed beams that you see on the ceiling. Once I saw them though, I knew they needed to be left exposed. It was a cool surprise element I didn’t ask for. Plus it adds a few more inches of head space we would’ve lost.
Choosing where to put electrical was tough. I thought I knew where I wanted the lights inside but in the end I ended up switching up the floor plan. So where I have to have a light now, could’ve been a great place for shelves. I could always cover it down the road but this was a small planning mistake on my part. Outside lights look perfect through i am so happy with those!


Five
After drywall was finished, I took over. I finished the drywall by doing a skip trowel finish on top. After painting the finish, I installed the floors.
This definitely took me way longer than a professional as it was my first time doing any of it, but I wanted to do as much as I could to make it mine. Not to mention I was trying to save as much money as possible at this point.
Doing the coating on the wall was actually super fun and simple once you got the hang of it. We ended up liking it so much that we are going to do it in our bedrooms upstairs as a DIY project.


Wall texture
How to give your walls the skip trowel texture
Bucket for mixing
Mix enough water so that it is thin enough to spread but thick enough it doesn’t drip. I mixed mine in a large HD bucket but did it in small batches. It dries pretty quick so you only want to mix what you can work with in under an hour. There are different types that dry faster/slower so make sure you are picking the right level.
Once it is mixed, using your finishing trowel, transfer a small amount onto the hawk (it’s just easier to work with this way. Once you have a bit on there, all you have to do is smooth it on your wall creating a texture that you love! You can make it really smooth or extra textured, it’s up to you.
Let it dry for at least 24 hours before painting.
Flooring
I used vinyl plank flooring. I chose this because of the durability + price. It required no prep to the floor and no major tools. It took me around 2 days. Mostly because there were a lot of cuts near the door (and the last row is a B). But the middle was SO easy. Watch the video on the site and it fully explains how to install. It snaps together is fairly easy to cut without a saw. This is yet another project we plan to do in our upstairs bedrooms and halls because it ended up looking so great, it was easy, and pretty inexpensive.

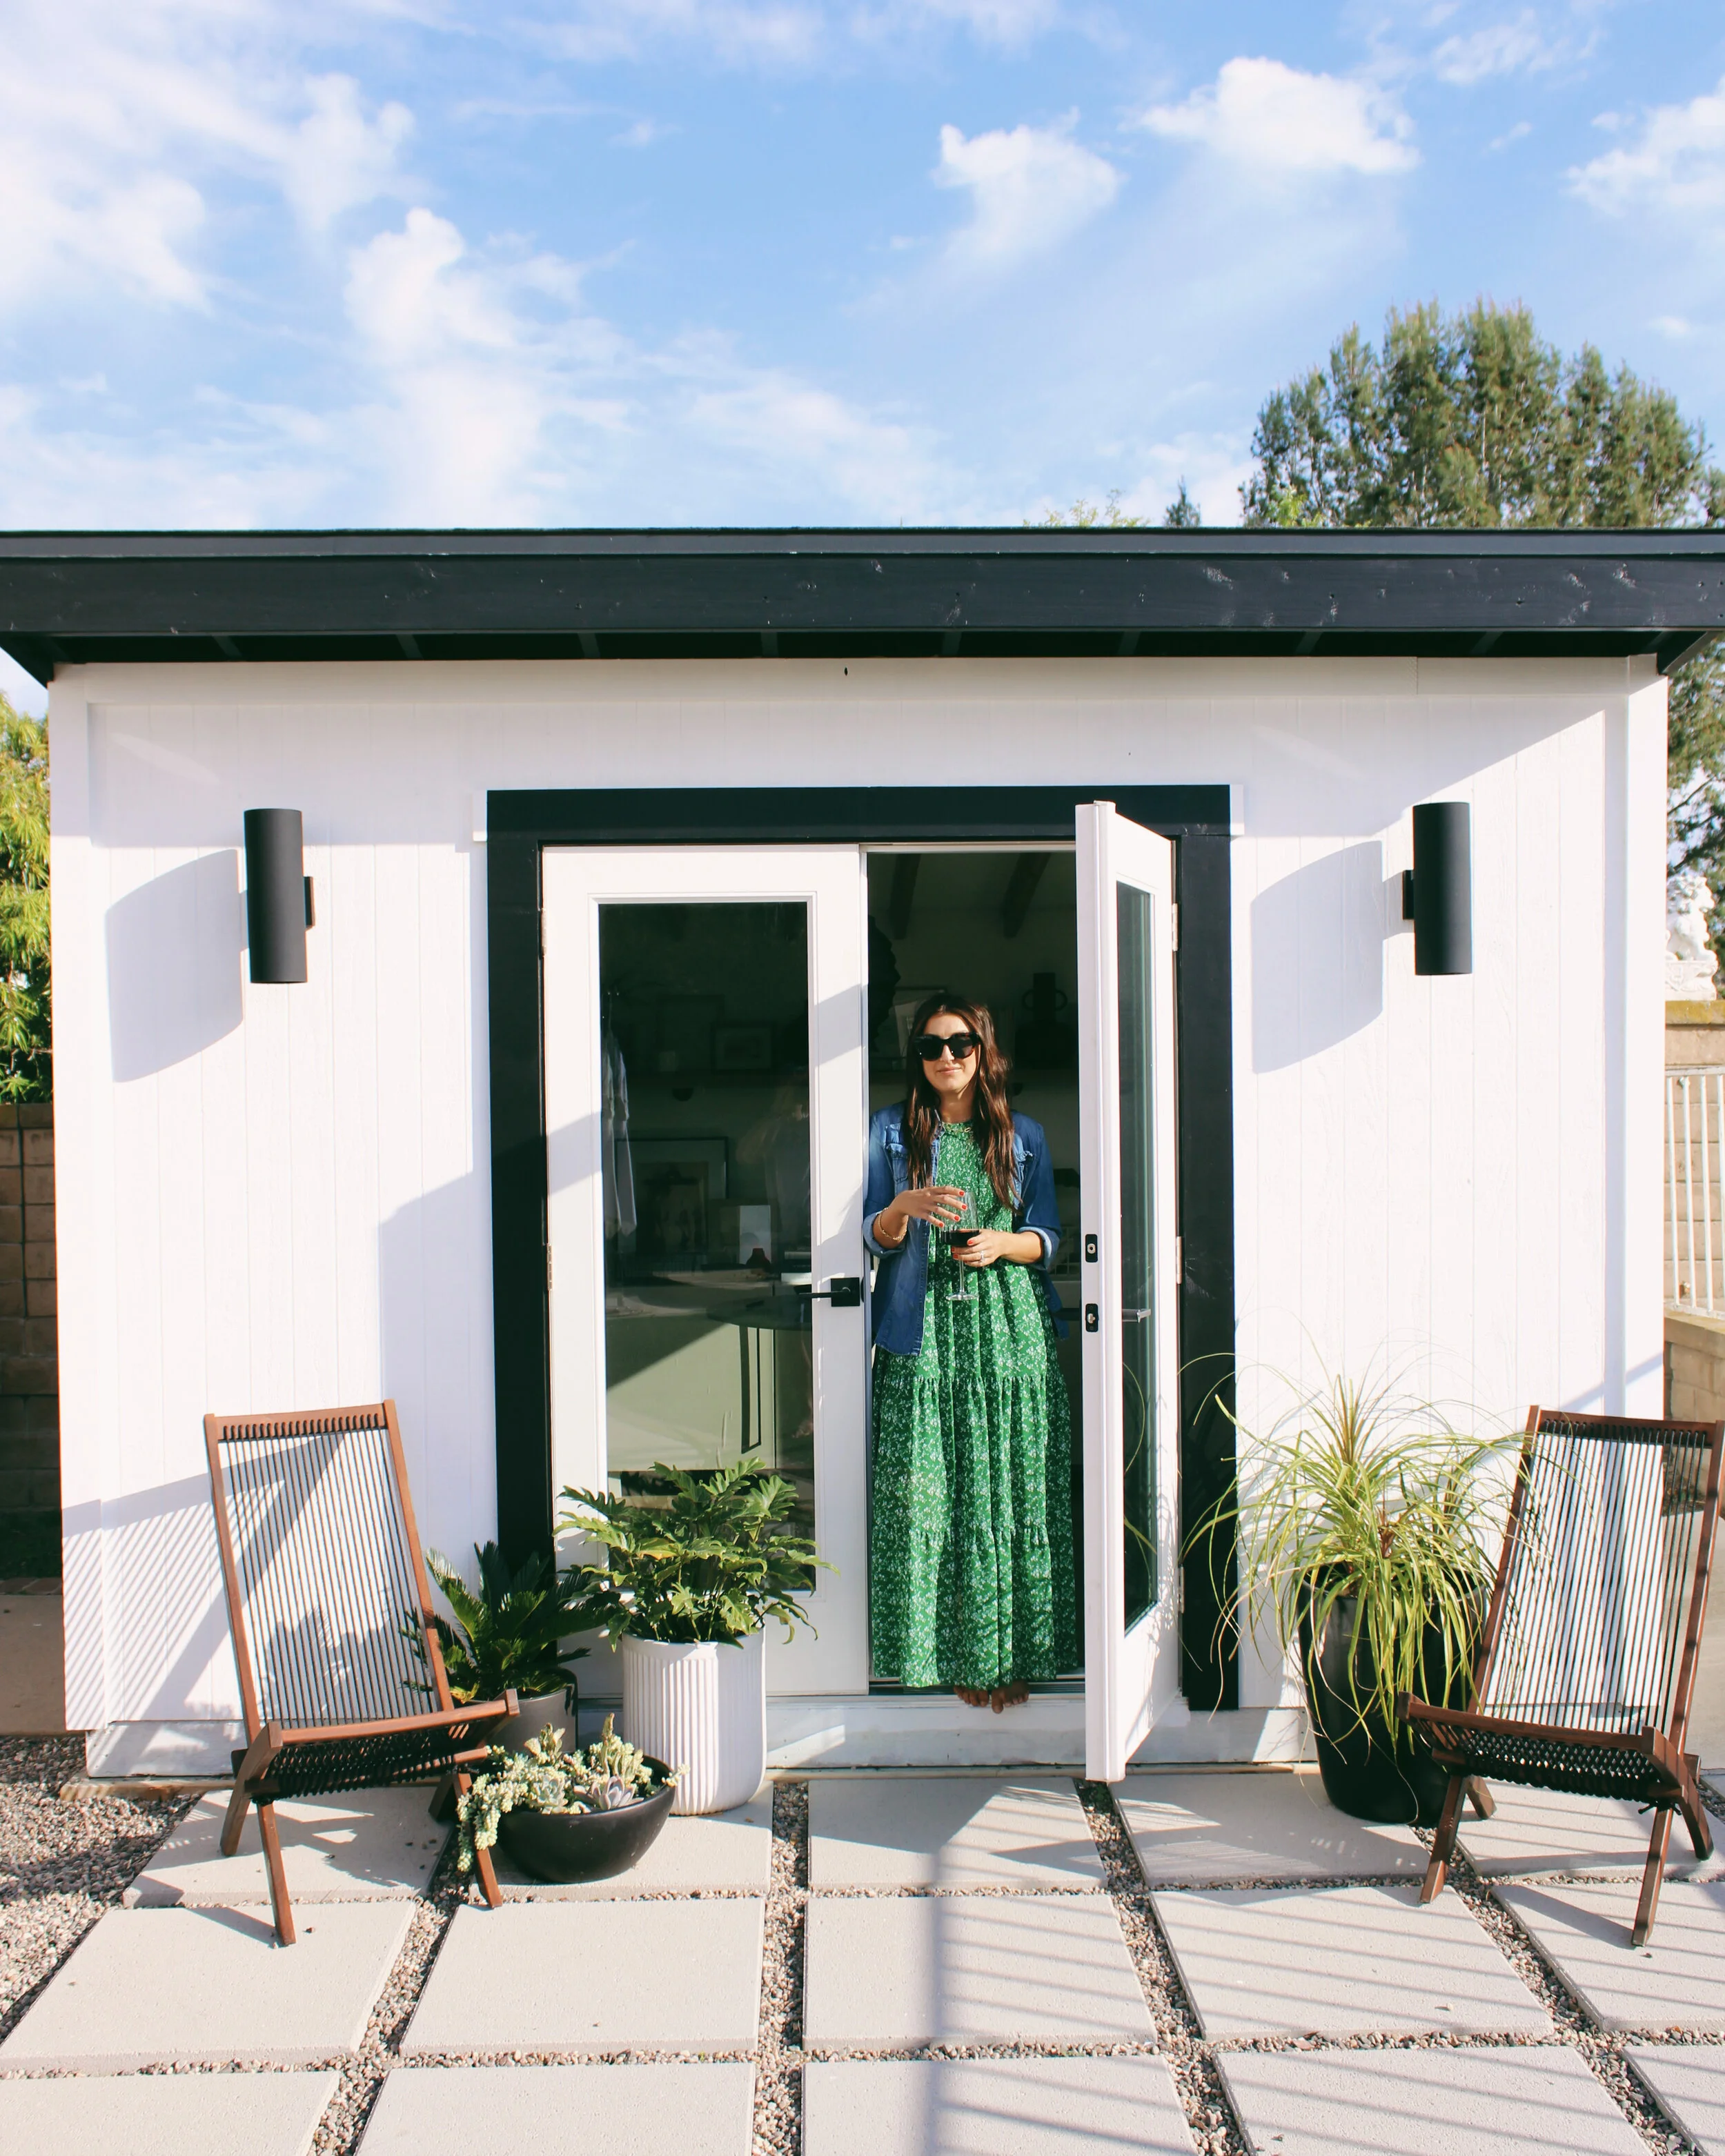
The last step to finish it off was paint on the exterior. I used the Ultra Pure White and Black from Behr, exterior satin paint. Each took 2 coats but was fairly quick to paint on. I added a few potted plants and these Ikea Brommo chairs to finish it off.
All of that took around 5 months. The actual construction maybe took 2 months and then there were little things we had to wait on like having electrical wired, etc. Most of the time spent was on my DIY portion. I wasn’t really in a rush and wanted to make sure i was putting things in that i loved and would last a while.

Cost breakdown
Where i spent...
Demo - 3k (remember this also includes disposal of everything + supplies in our case since they did pavers)
Building structure (and all supplies) - 9k+ (I paid our neighbor in chunks over the course of a few months and honestly lost track but this is around what we originally agreed upon)
Door - $1100
Split Unit - $1000 (and I have no idea yet how much to get it hooked up… assuming another few hundred dollars for services)
Where i saved...
Flooring - $420 (also factor in base boards and/or any trim you might need)
Paint - $144
Walls - $64
Windows - $300
Was it worth it? 100%
It was WAY more (both work and money) than i thought… but we ended up doing a lot more than a traditional shed. I mean, it has an ac and nicer flooring than what’s in our house. I also ended up making some things more complicated to build, for example, once I saw the beams that were supposed to be covered by drywall i said NO WAY, those are staying exposed. So that took another level of work. They couldn’t slap up one piece of drywall and insulation, it had to be cut for each panel. So the more details, obviously the more $ it will cost. But honestly it was less than paying to rent an office space for a year so it’s already paid for itself really.
What we still need to do
We have mostly installed the split unit (the ac/heater) but need a professional to come attach all of the pipes and electrical.
Would love to build a small wood step at the entry
The inside needs some final decor touches and organization to make it feel complete. We are so so close here though (and then I will share a separate post on all of that!)
I’d love a few more plants (haha, do we really ever need more plants?)
Other than that, I can’t believe it, but it’s almost there. I keep pinching myself say I DID THIS. I DESIGNED THIS. Which is really the best feeling.
SHOP MATERIALS

If you have any questions let me know and i can answer/update the post!