A Work in Progress: My Guide for Hand Lettering
The time has FINALLY come! Can you guess how long i've been working on drafts of my first lettering guide? YEARS! It was just never "perfect" I guess, which is nuts because when is anything perfect? Luckily Blurb Books reached out with an offer I couldn't refuse. They wanted me to use their self-publishing platform, get creative, and share what I came up with. A hand lettering guide was the obvious choice. So today, I'm sharing the first steps of the journey to publishing the prettiest little lettering guide ever.
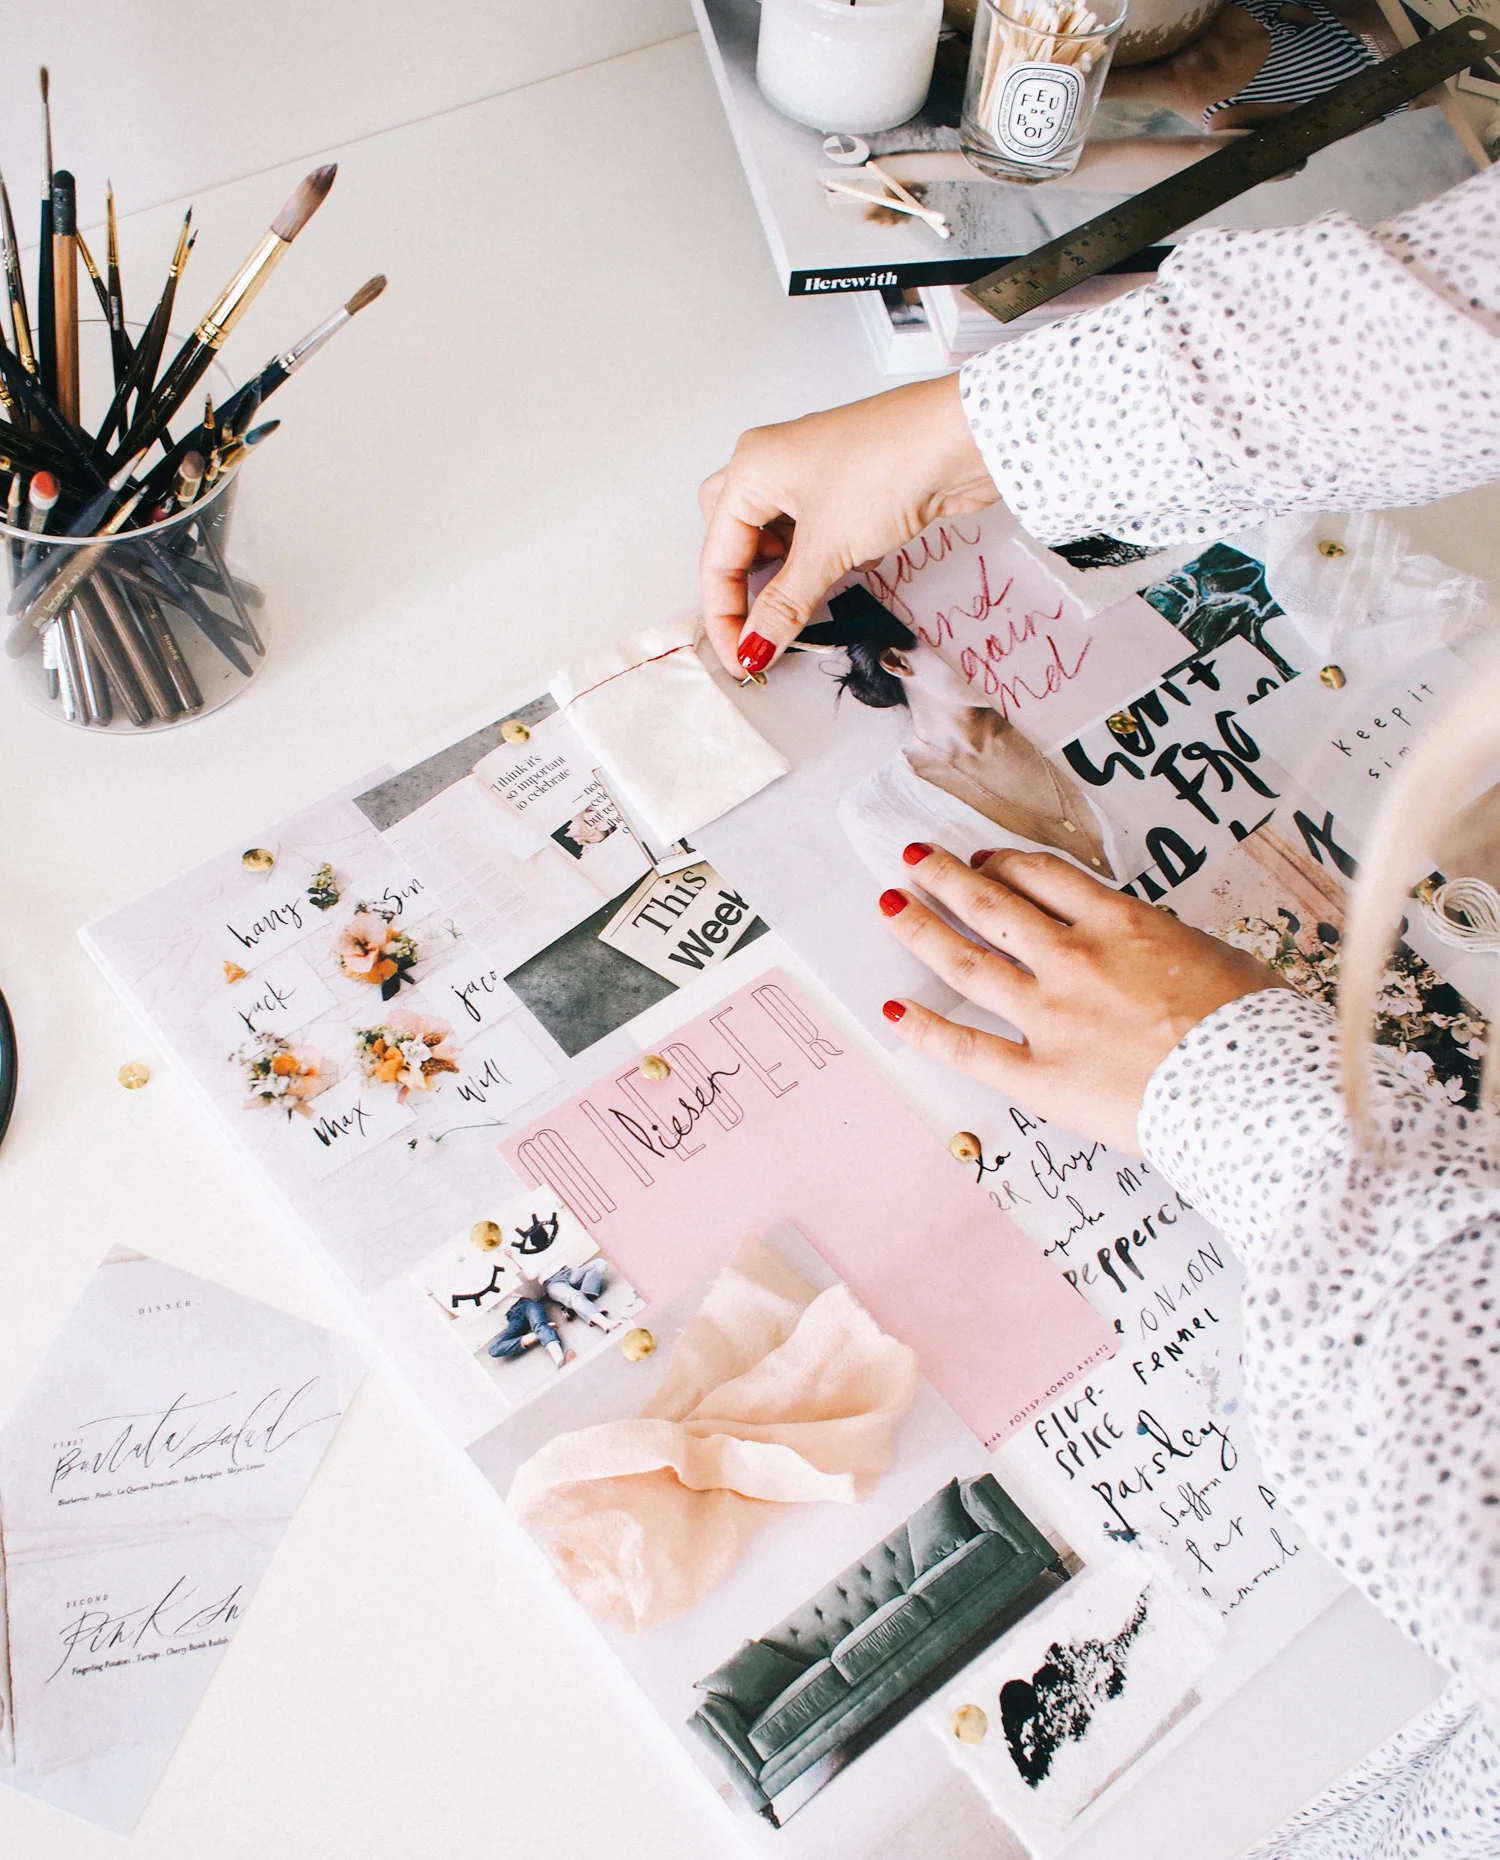
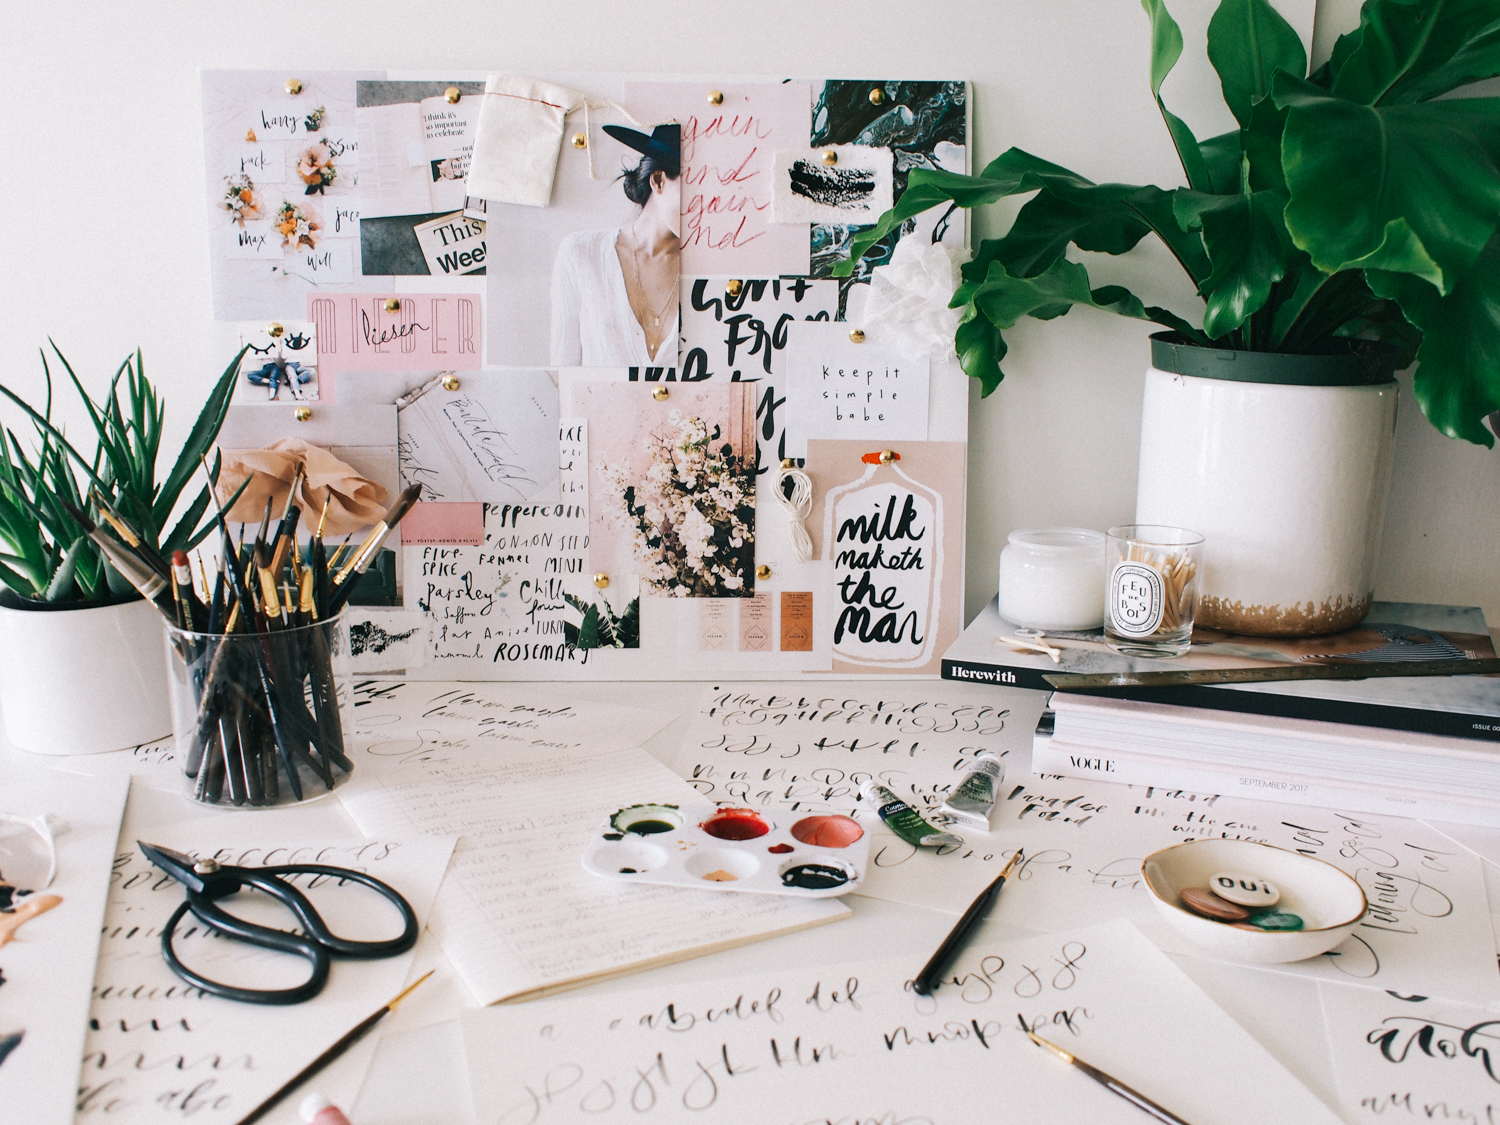
Moodboard Creation
I always start a new project with a moodboard. Whether it's a shoot, an invite, or something more detailed like this book, it's always great to set the tone and decide what feeling you are going for.
I will definitely dive deeper into the whole process of creating a moodboard, but, what I typically do is scan all of my recent "likes" and pins in search of a common thread. I will usually see a color theme, styling similarities or even materials that I am obsessing over. I print, pull and tear, then bring them all together on a board. At a glance, you can see a solid direction at where you should go with all of the little pieces that will eventually make up your final project. For example. I realized that I wanted a ton of variance in my lettering to show you guys examples, I wanted go with lots of neutrals and a pop of pink + green, and finally, I wanted there to be a lifestyle/art element to the whole thing. I will share what that is later... but ALL of that from a few pictures I printed!


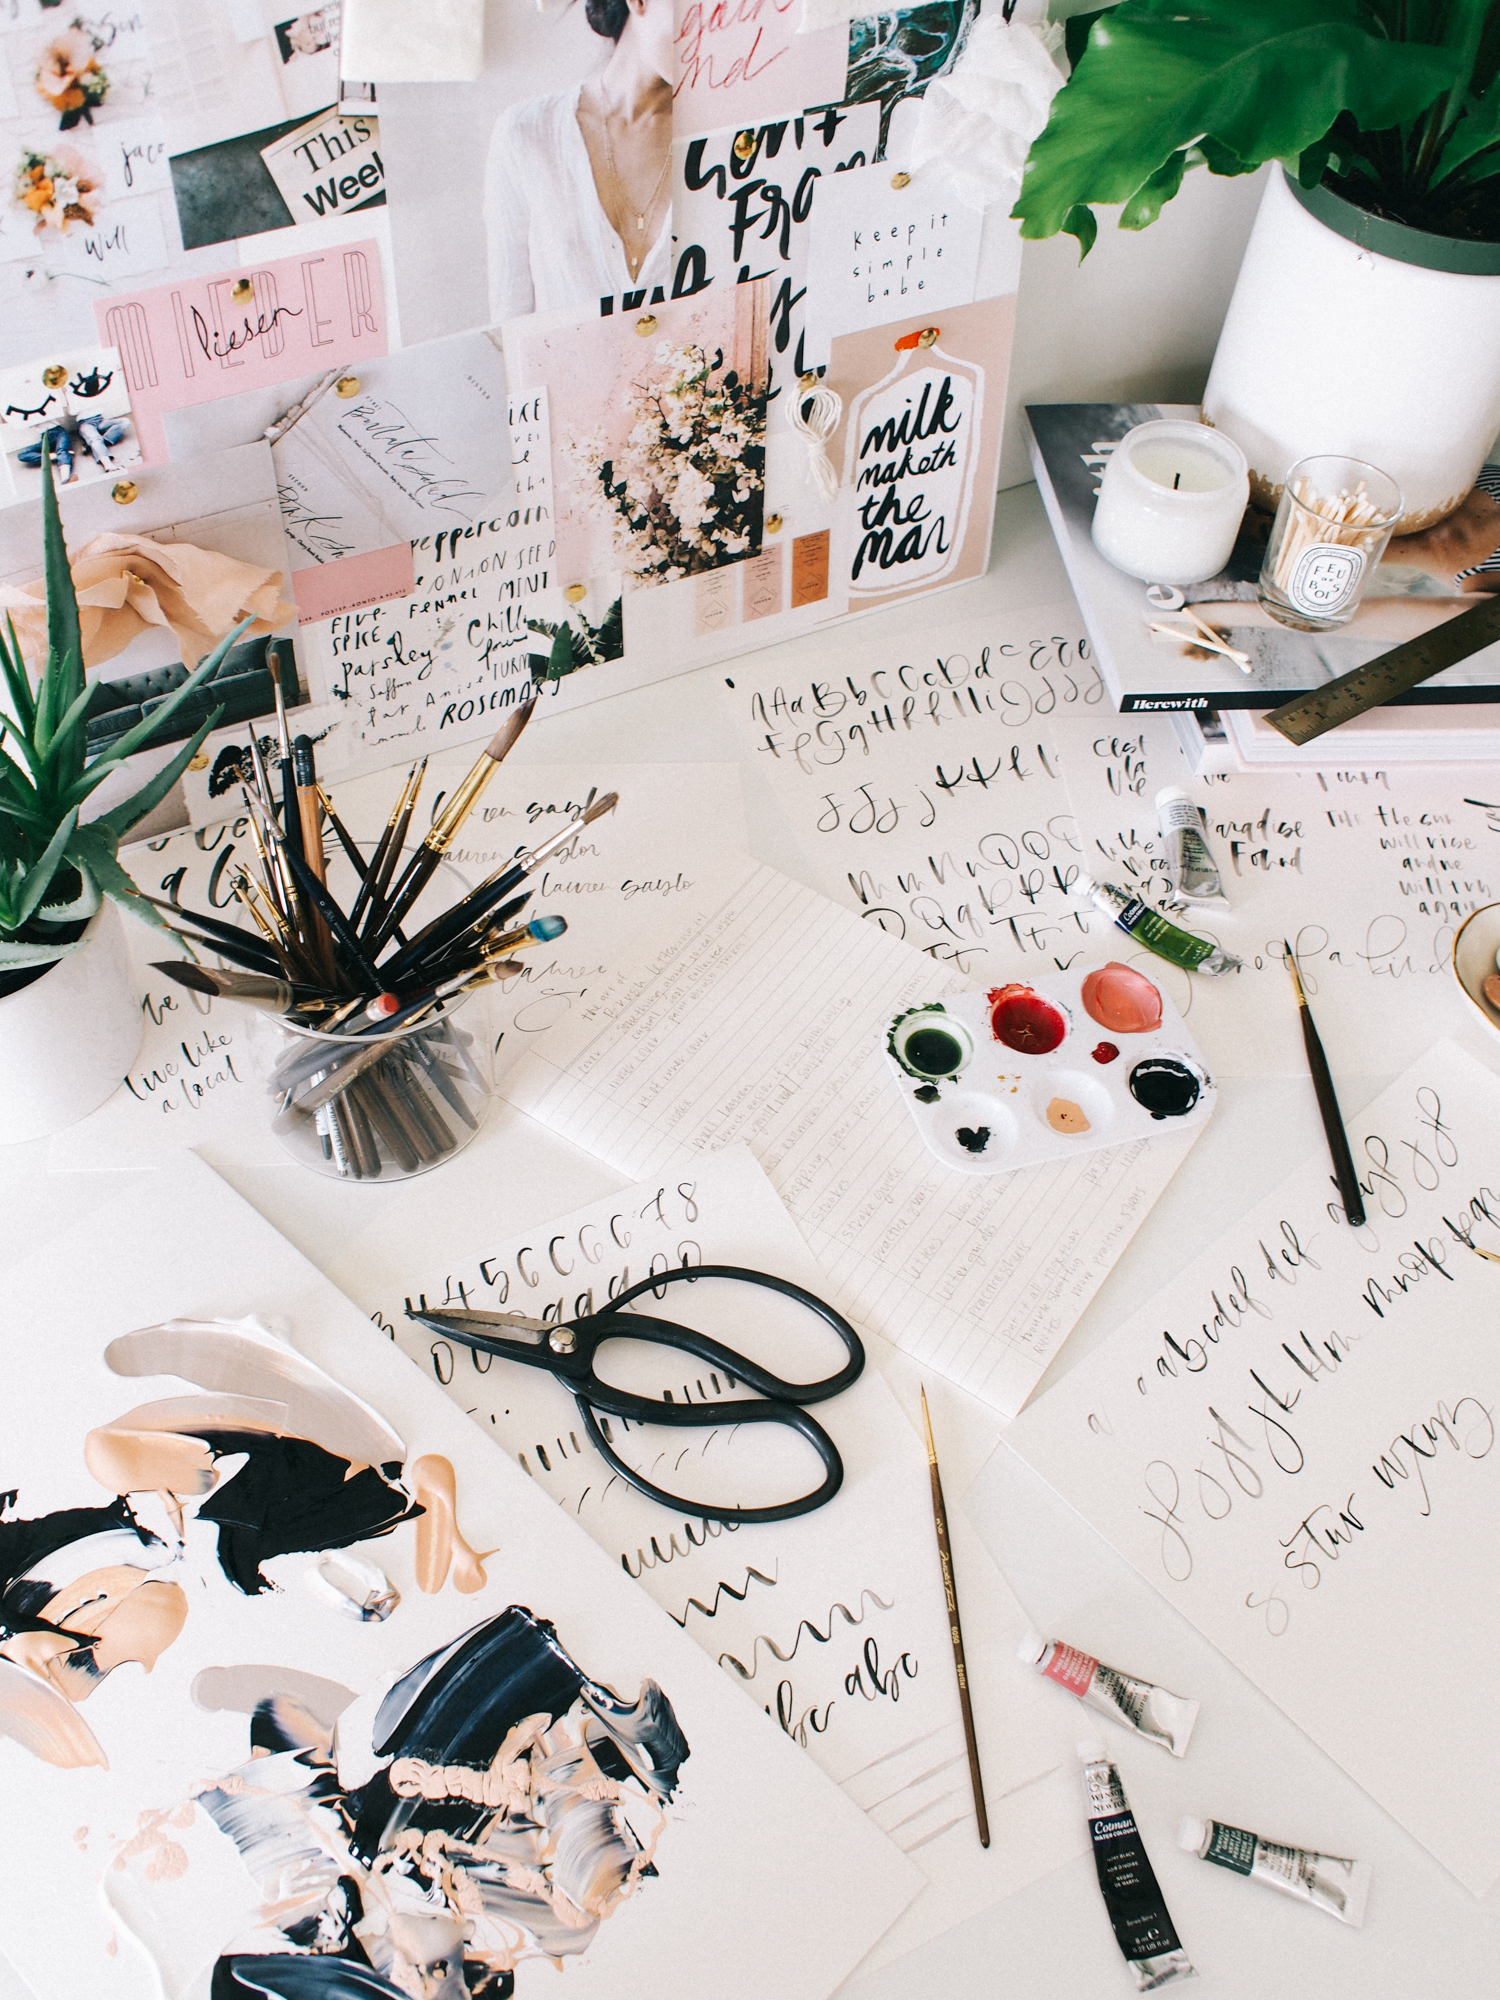
The Good Stuff
If you're going to get the guide, you're in it for the lettering how-to's, so getting all of that out of the way first was my next step. I knew this would be the most time consuming part as well as what I really had to put some thought into. Obviously there were the letter guides, but deciding how I wanted to show you different styles and brushes was a whole other process on it's own. I decided to just spend a few hours lettering whatever came to mind. I looked at quotes, wrote words that popped into my head, and then made lots of notes on how I wanted to use them. While I will probably go back and add more once the book starts coming together, doing this "brain dump" put a really good dent in the main content for the guide.
I will touch on everything from how to mix your paint, to troubleshooting. So you can expect a little more than just some letters and a few practice sheets!


All About the Paper
Finally, I chose the perfect paper. My moodboard definitely helped me as I knew I wanted to go with a natural texture and matte (ish) finish. Thank goodness for the swatch kit from Blurb! I would've chosen something completely different if I hadn't see these in person.
A huge perk, especially because I am creating something you will write on, was being able to test the papers. I wanted something high in quality and durable enough to hold up to all of you ladies and gents putting watercolor on the actual sheets. The 2 I had originally chosen were perfect. No warping or bleeding... so now I have to make the final decision!


For me, the hard part is done. Next I will be uploading everything to photoshop to begin the editing process. This is where all of that fun color is going to come into play. While I have an idea.. I never like to nail it down to early. So I really can't wait to see how the final product ends up. Blurb also offers plug-ins as well as free desktop software you can use to design your book (shown above). I will be creating most of the pages with heavy lettering elements as pdf's in photoshop, then laying out with their indesign plug-in, as that is what I am comfortable with... but they really do provide you with so many options for all skill levels!
I hope you guys are excited as me! I will be sharing the actual book (which will be available in less than a month!) soon here on the blog with info on snagging your own. In the meantime though, head over to Blurb if you were interested in publishing something for yourself! They have everything from magazines to luxe photo books that would showcase an event of vacay perfectly.
Post in partnership with Blurb Books