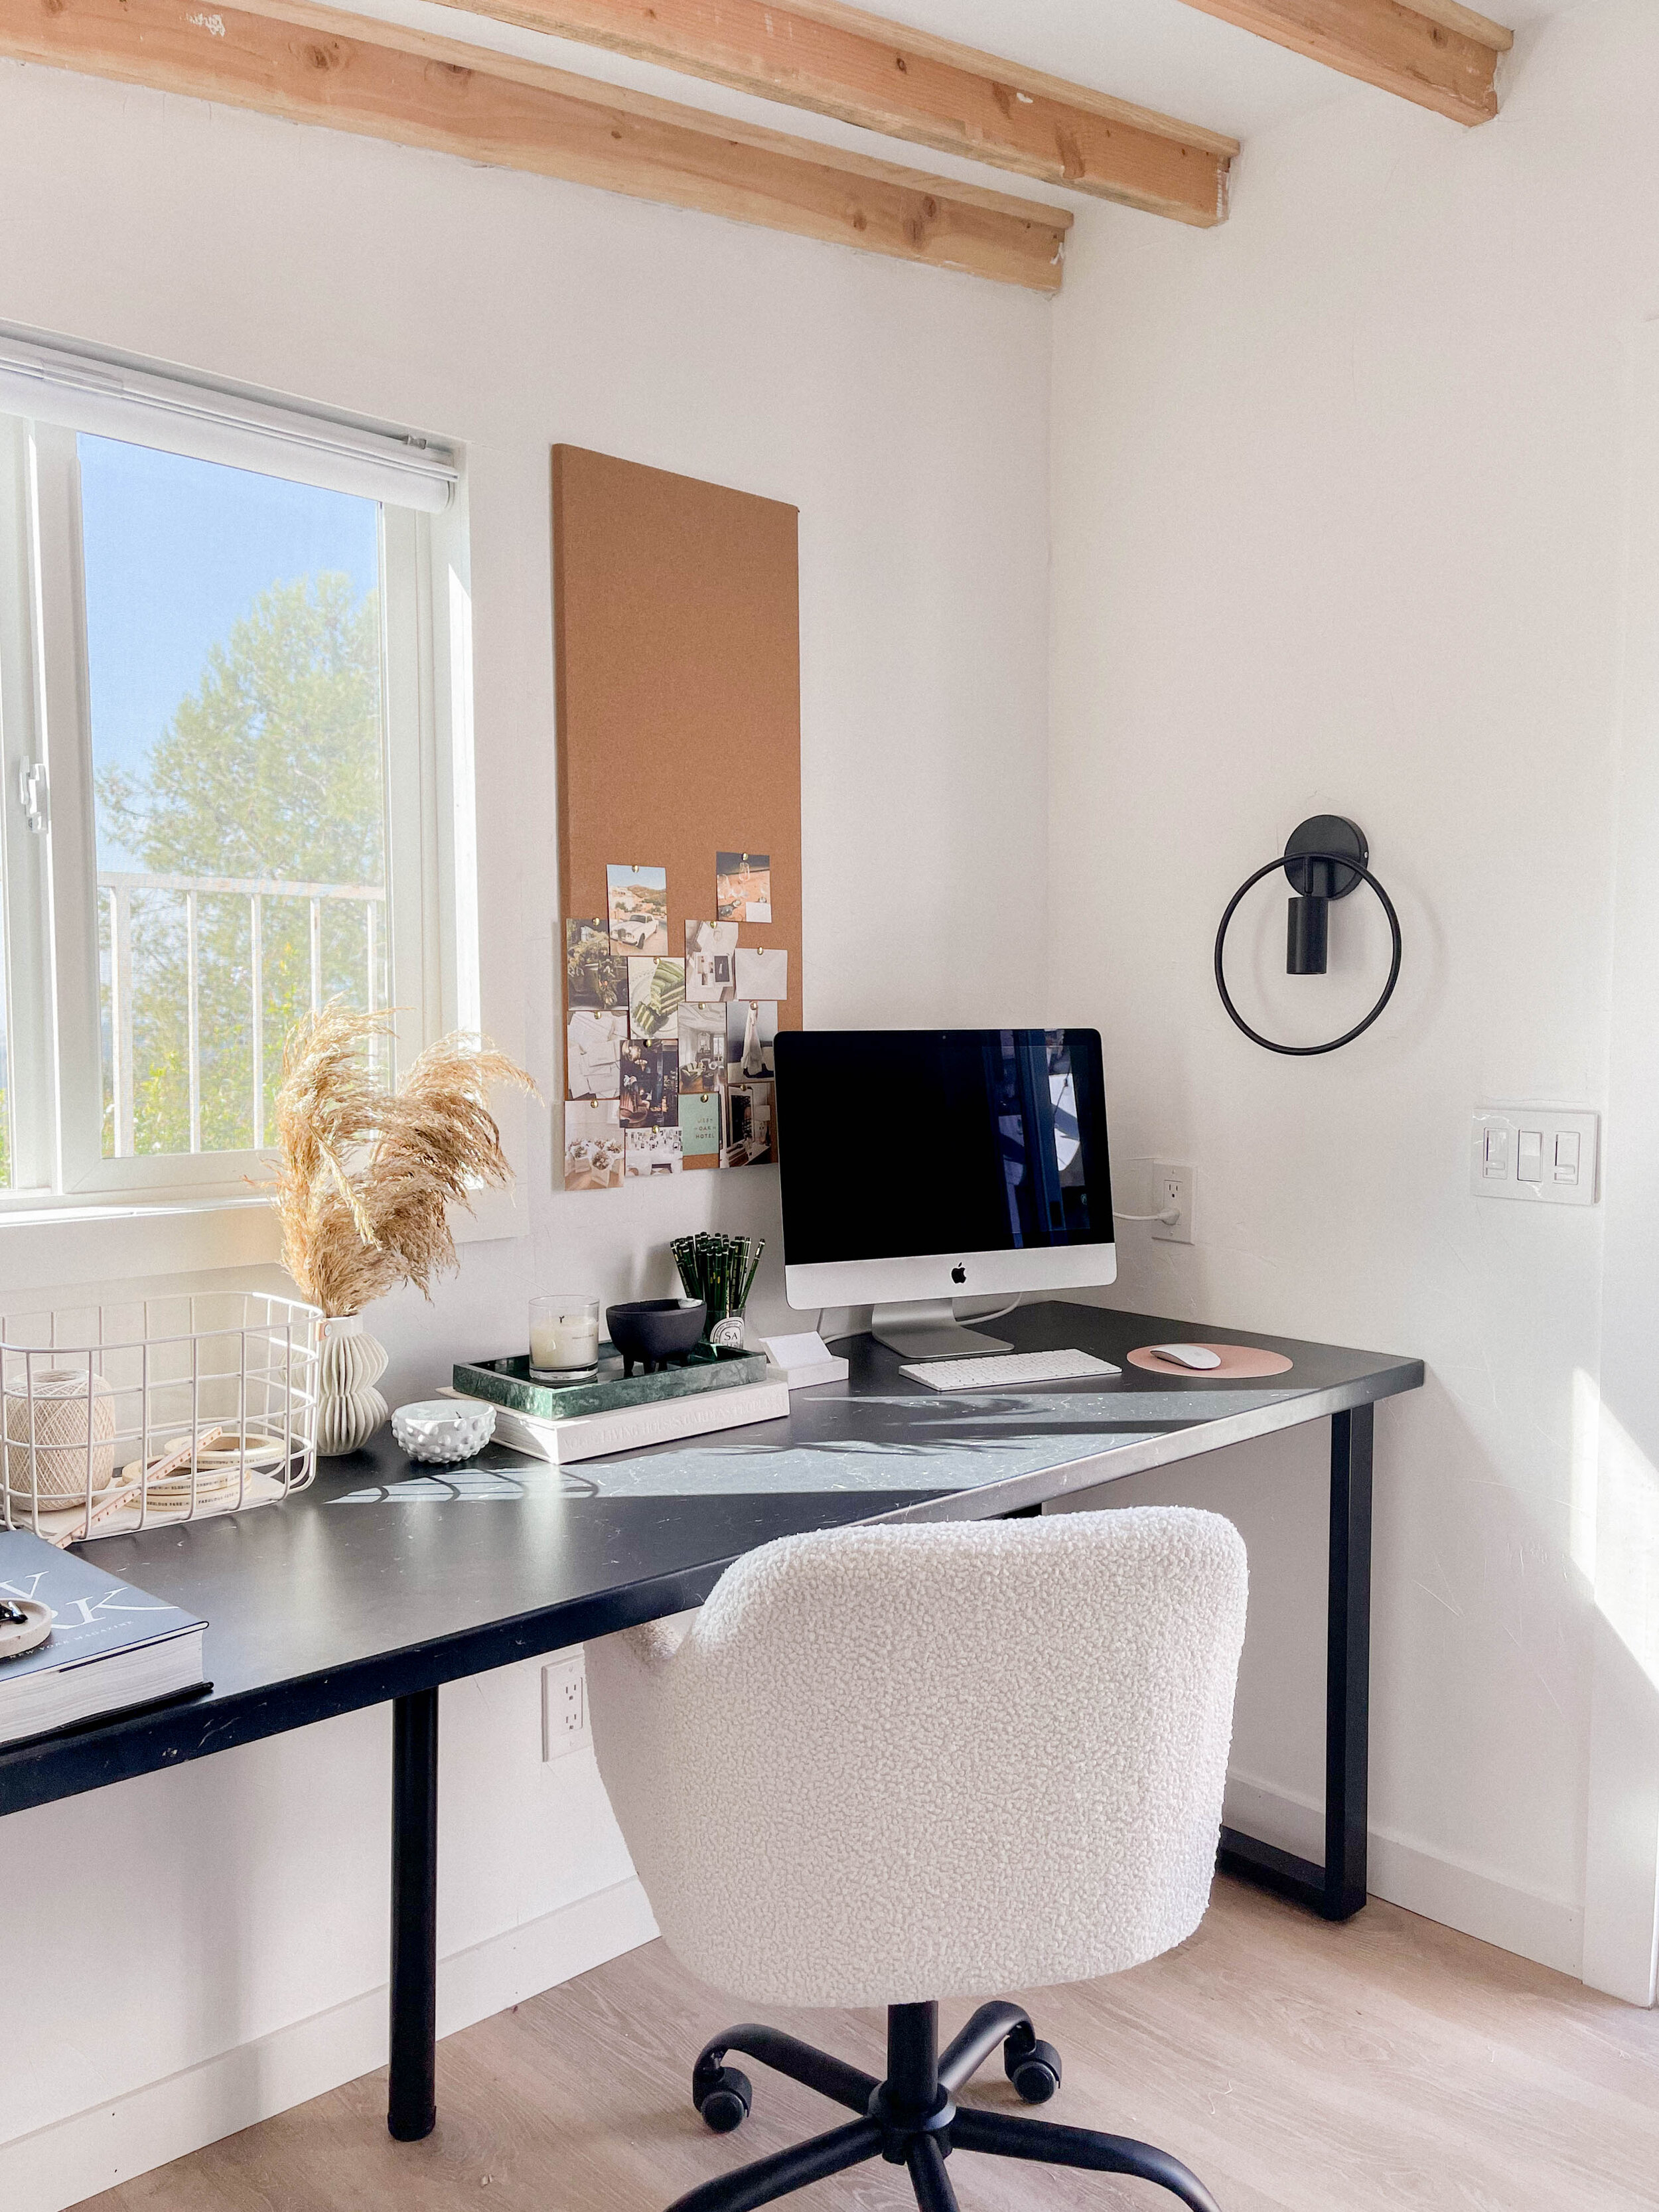
How I Built My Oversized Studio Desk
SO. MANY. QUESTIONS. Every time I share the oversized desks that Ryan and I created for my backyard studio, I get so many questions on how we did it.
The idea came out of a need for the following:
a need for lots of space in a tight area
a need an extra long worktop that did not exist
a need for something pretty that i’d also be okay sharing all of the time (let’s be honest this was at the top of the priority list)
That desk did not exist… at least not in my budget. This was towards the end of building out my studio (you can read that post here), so I was maxed out and needed to spend as little as possible but keep it super functional. I could’ve used old desks but they were way to small and even if I tried to fit 2 on each side of the studio, the legs would’ve been a pain (and I didn’t have matching desks).
Materials:
The 98” Saljan Faux Black Marble Countertop from Ikea (they also have a shorter 74” version if you' need something smaller)
These wide square legs from Amazon for the outer supports of the counter
This adjustable leg from Amazon for the center of the counter (28”)
All of the legs come with hardware, so you will just need a drill to attach them.
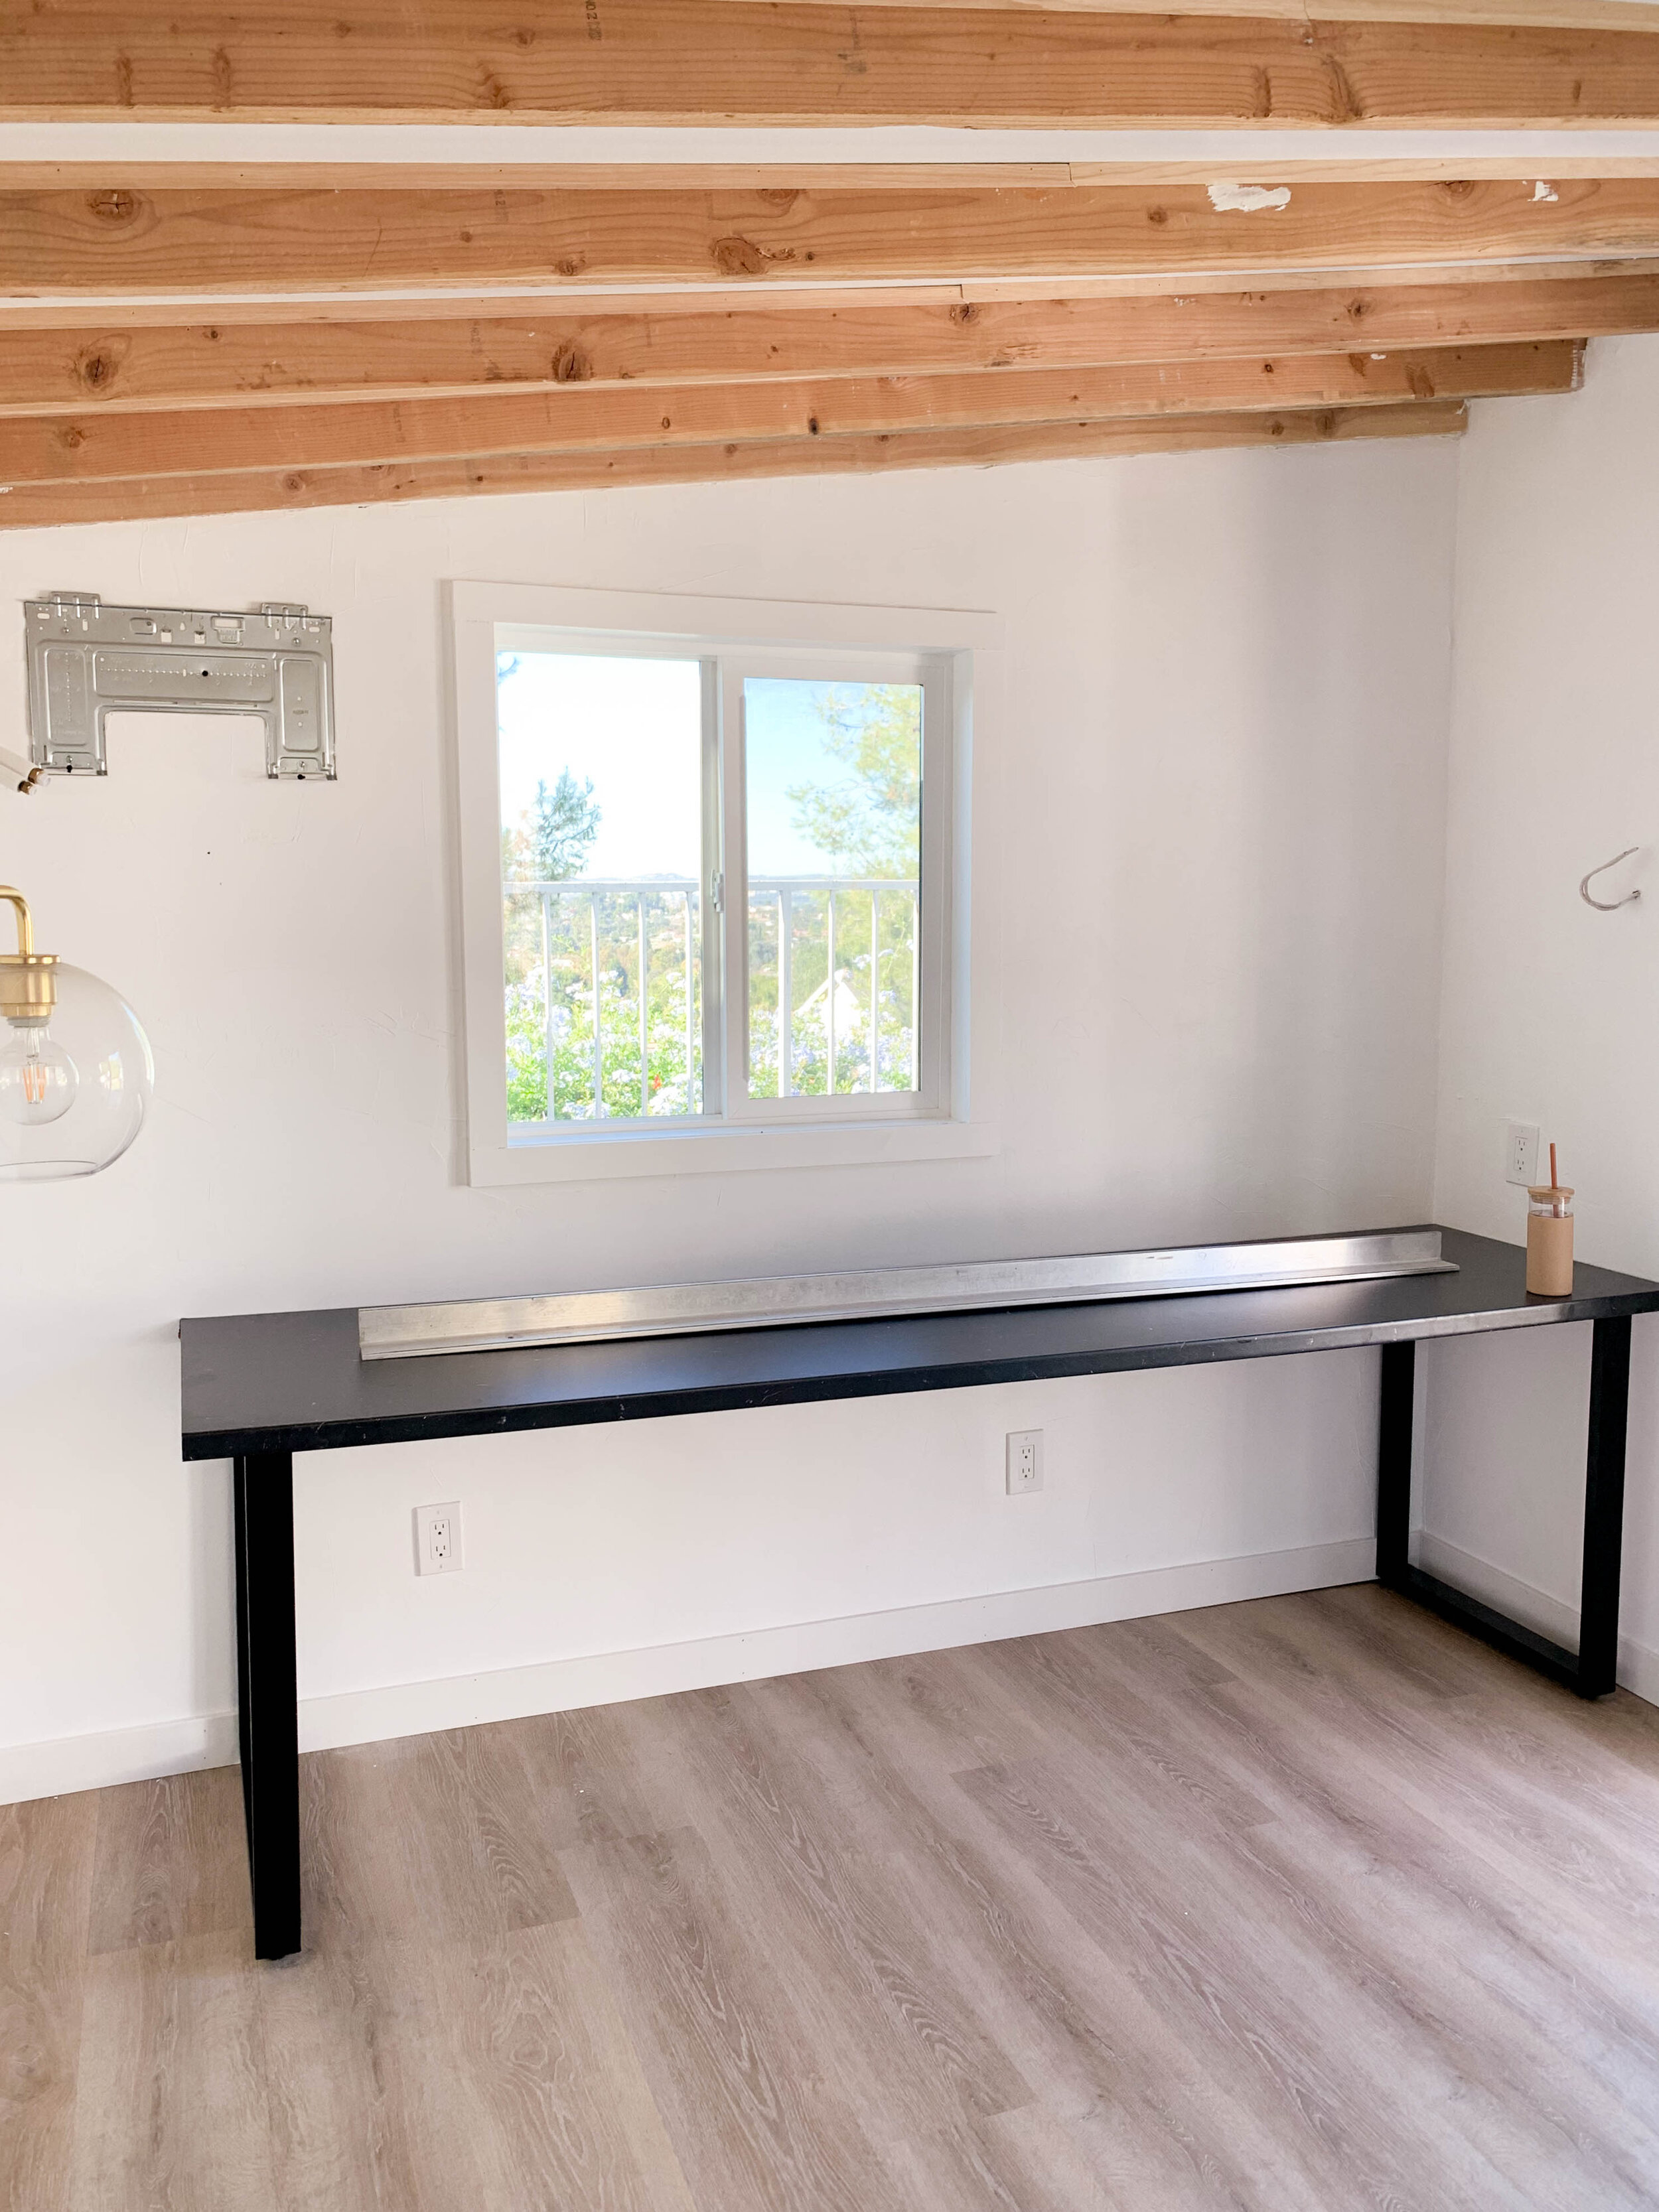

Flip countertop over so that you can work on the underside.
Attach the square legs to the outer edges of the bottom of the countertop. We brought them in a few inches from the outer edges to help support the top better, you can bring them in even further if you’d like. The counter depth is more than the legs so you can either center the legs or attach them as closely as possible to the back edge (which will be against a wall)
If you are going with the longer countertop you will likely need support in the center so that it doesn’t sag in the middle. So while you have it flipped over, attach the single adjustable leg to the center at the back edge of the counter.
Flip and adjust the feet on all legs until it’s level.
These counters are lightweight but not THAT light so you will definitely need a second person to help you carry and flip.
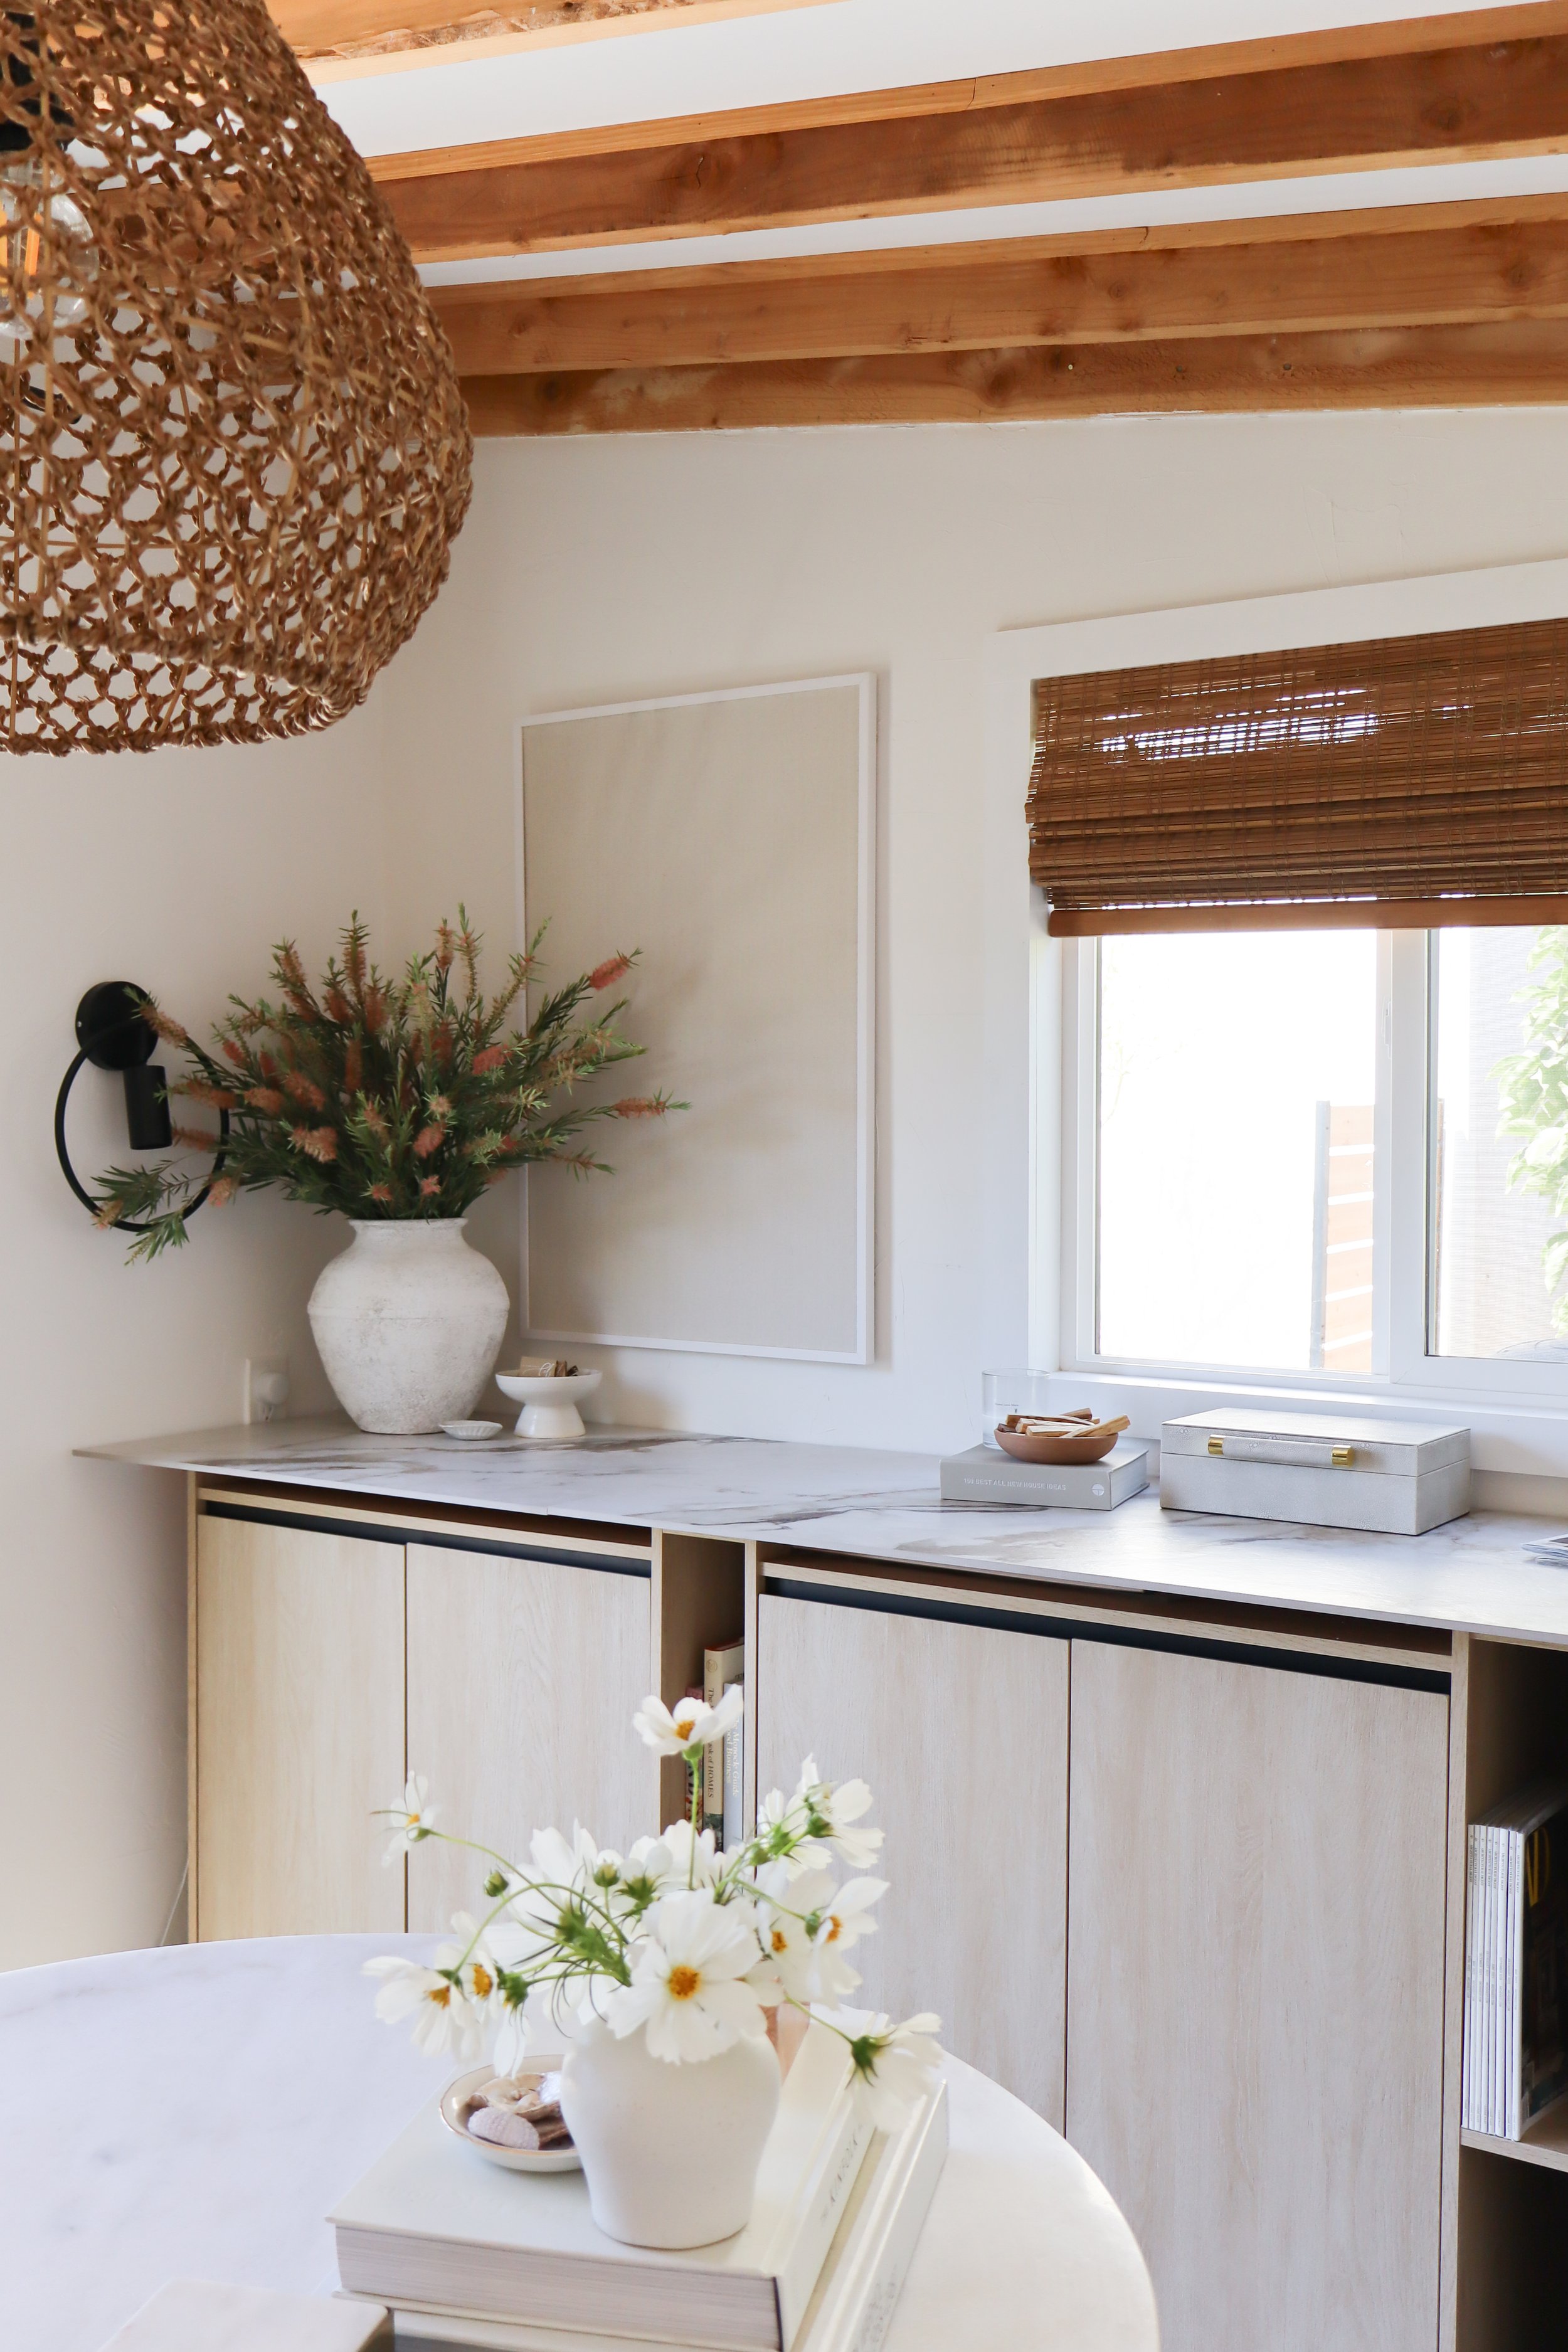
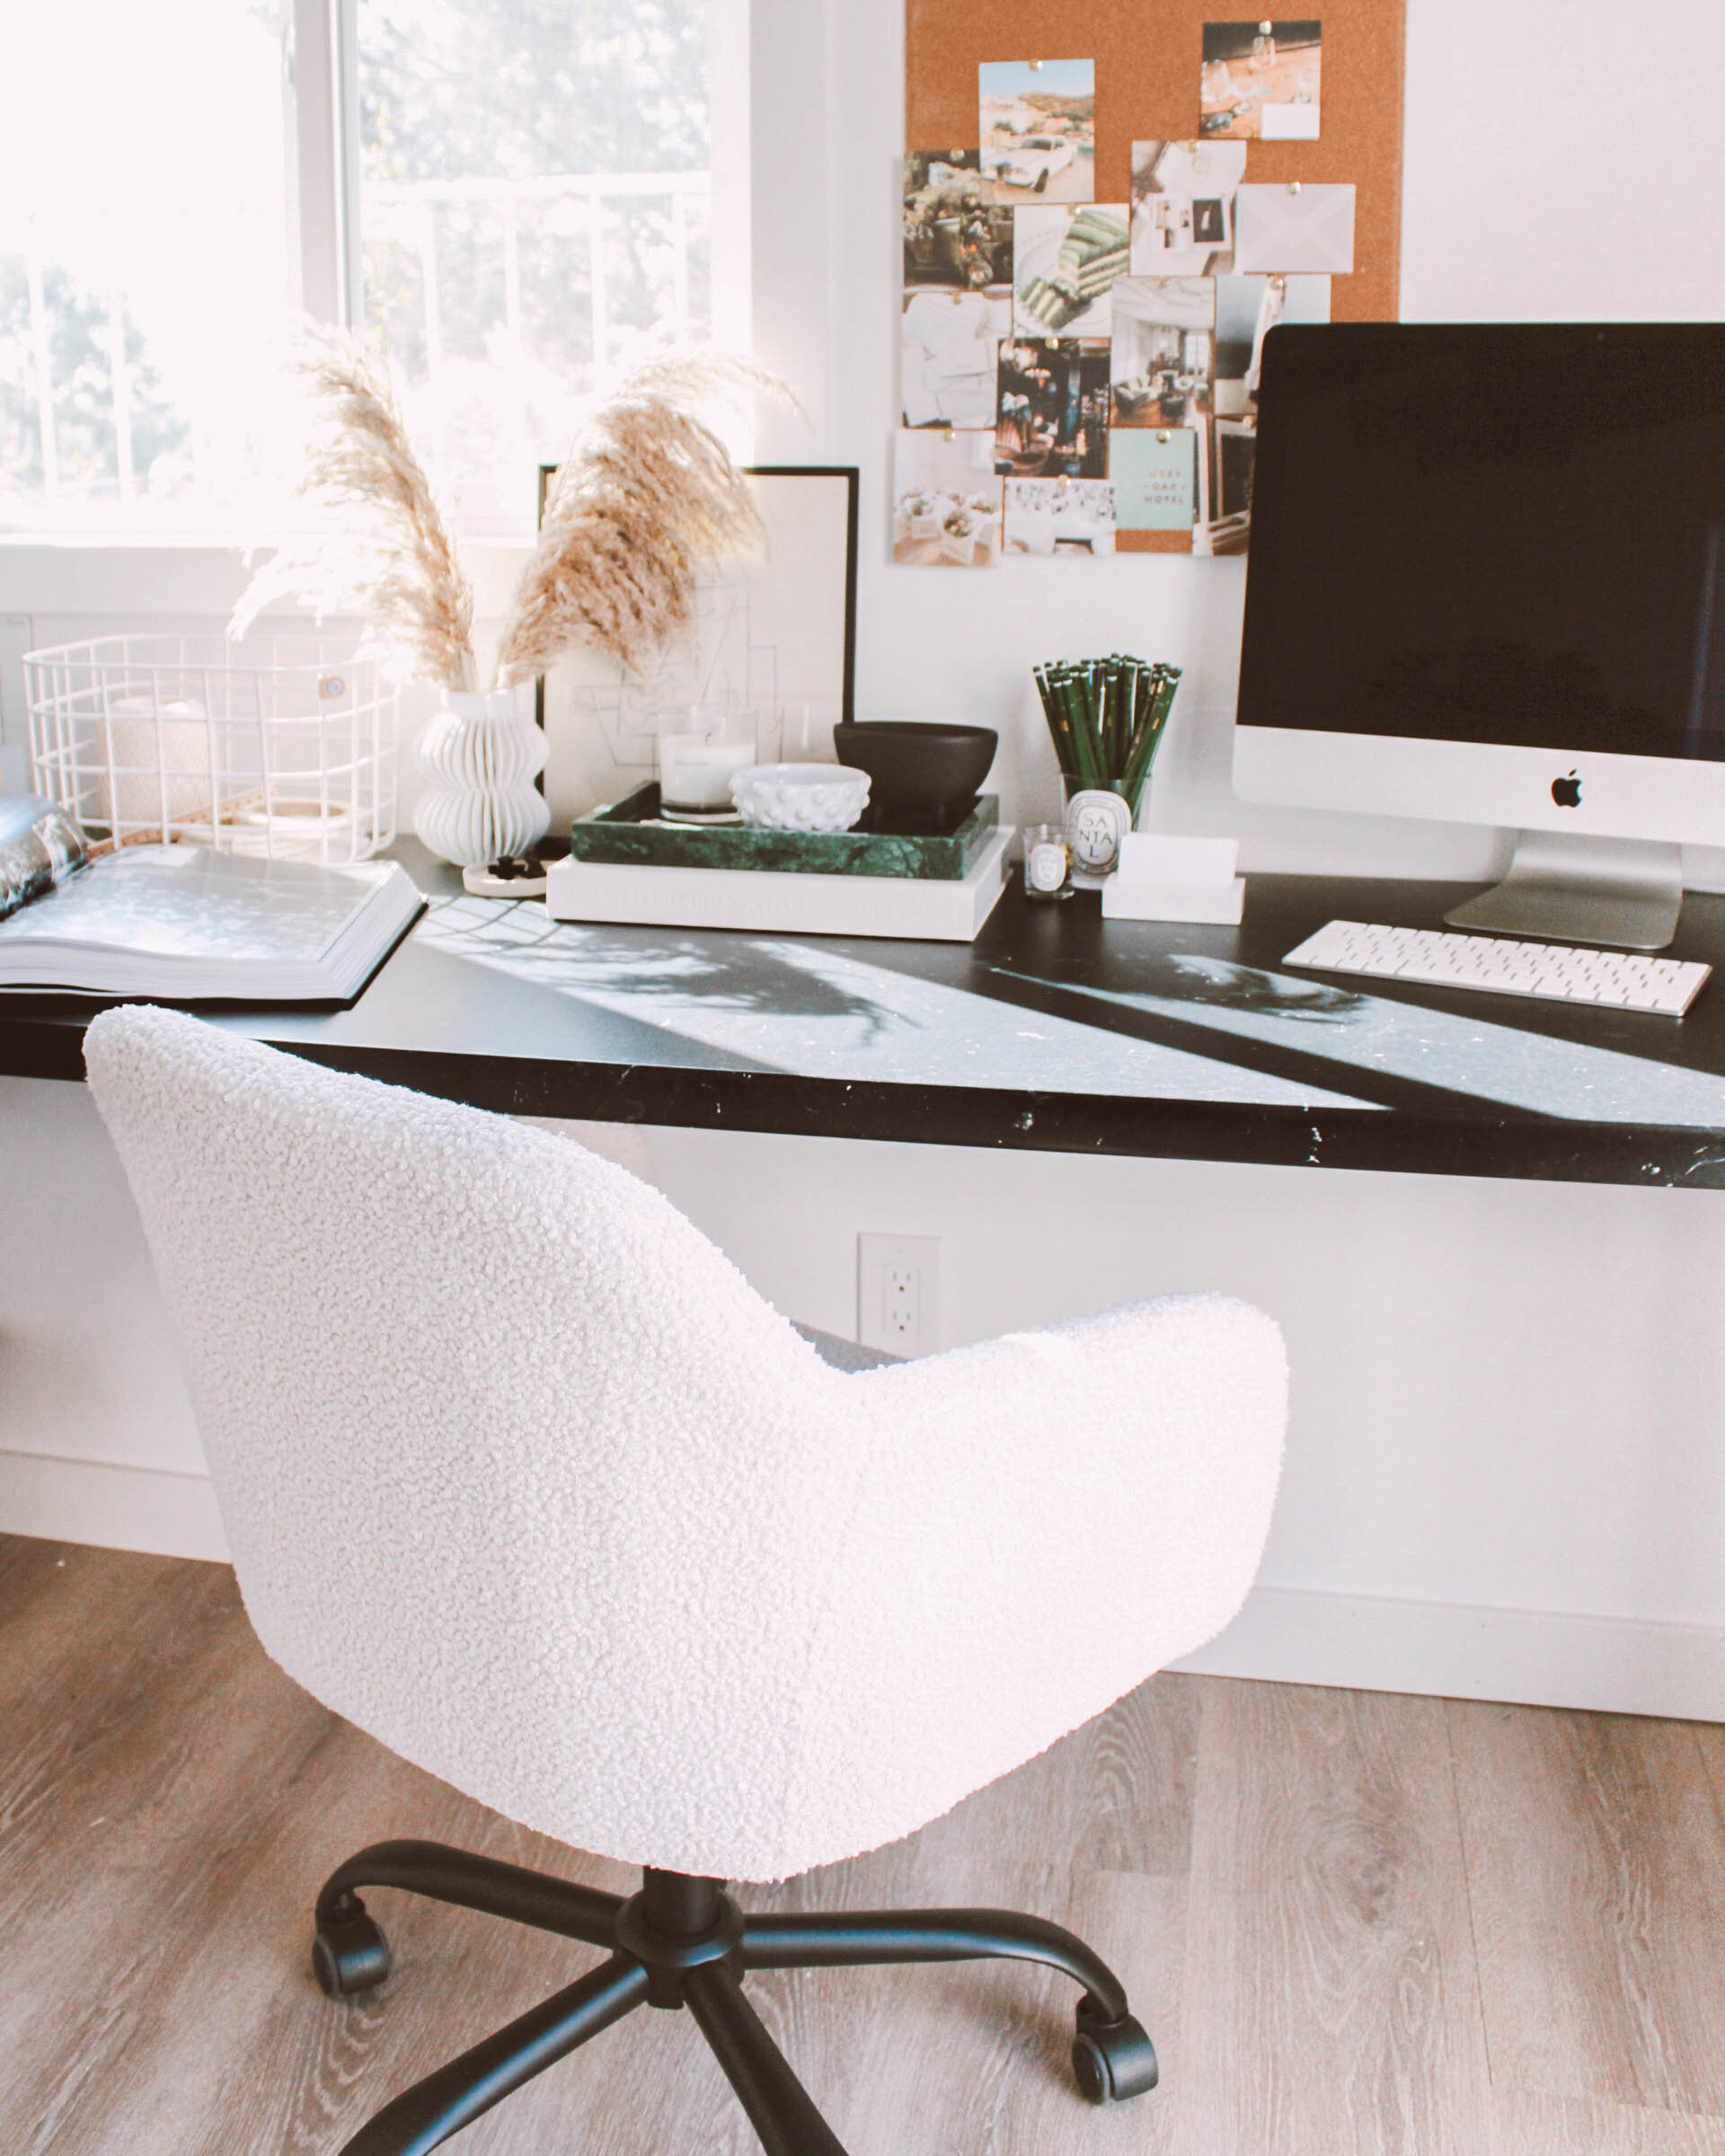
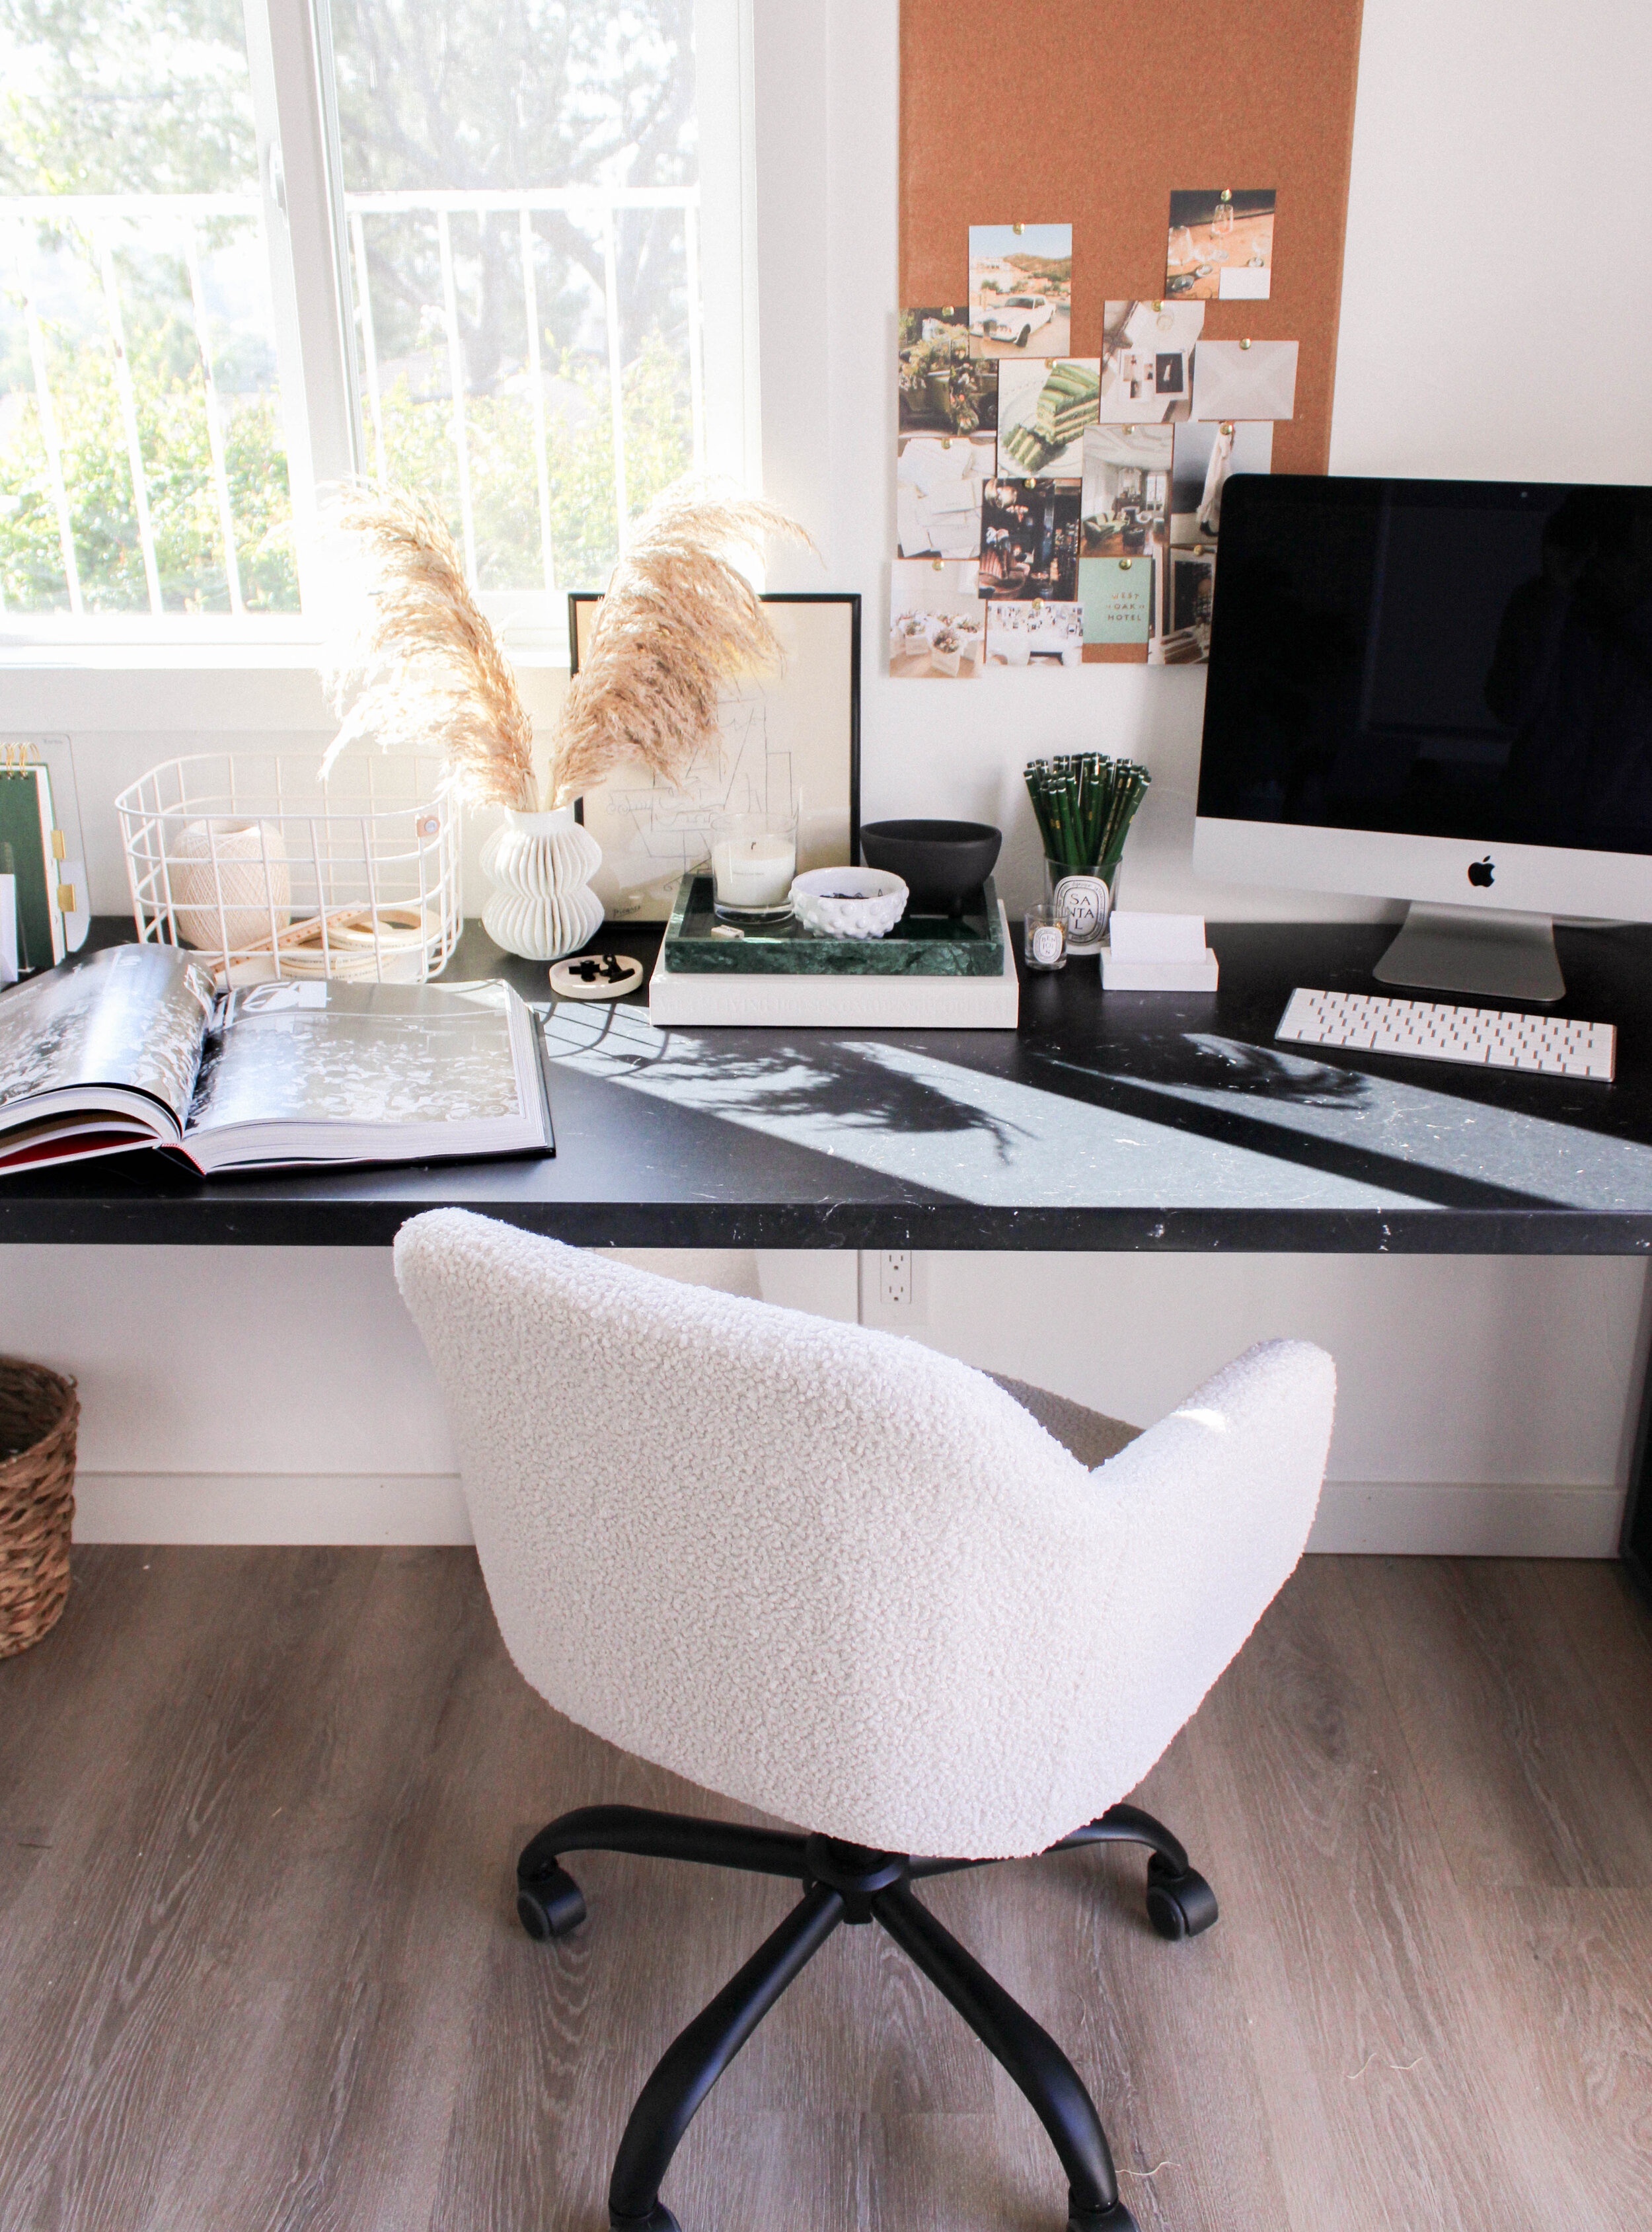
We built 2, one for each side of the studio, which has created SO much workspace. I am so happy with how it turned out and how the countertop has held up so far.
One note - Since it is black, you will see almost every little mark. My pet peeve is lotion from my arms… if you set your arm down to write, type, etc. you can always see where you have been. So you do have to clean quite a bit if you care about that sort of thing (or just avoid lotion before work;)
—
Total Cost • $376 for 2 custom desks
Countertop (2): $140
Square outer legs (4 total): $200
Single post leg (2 total, although the pack comes with 4): $36
These were so simple to make and Ikea has a ton of different countertops if the black isn’t your style.
If you have any questions I missed on make these, leave a comment!